In ProperFile, a new person starts as a lead. You enter their details once, and when they hire your firm you convert the lead into a client. ProperFile then emails them an invitation to the client portal.
Time needed: about 3 minutes.
Before you start: the choices in the Case Type, How did you hear about us and Area lists come from your Admin Panel (Case Types, Lead Sources and Ad/Lead Placement). If a choice you need is missing, an admin can add it there first.
Step 1
Open the new client form
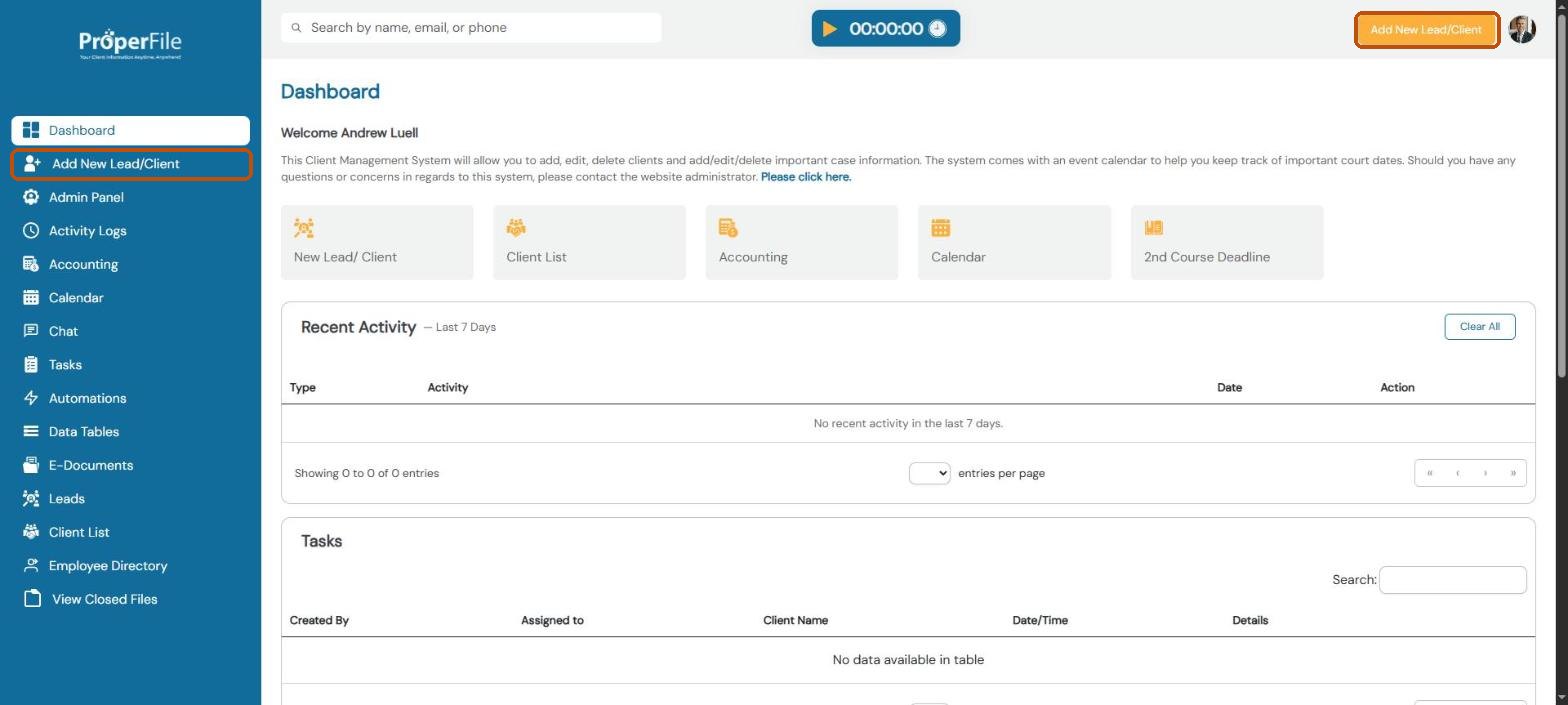
From any page, click Add New Lead/Client in the left menu. You can also use the orange Add New Lead/Client button at the top right.
Step 2
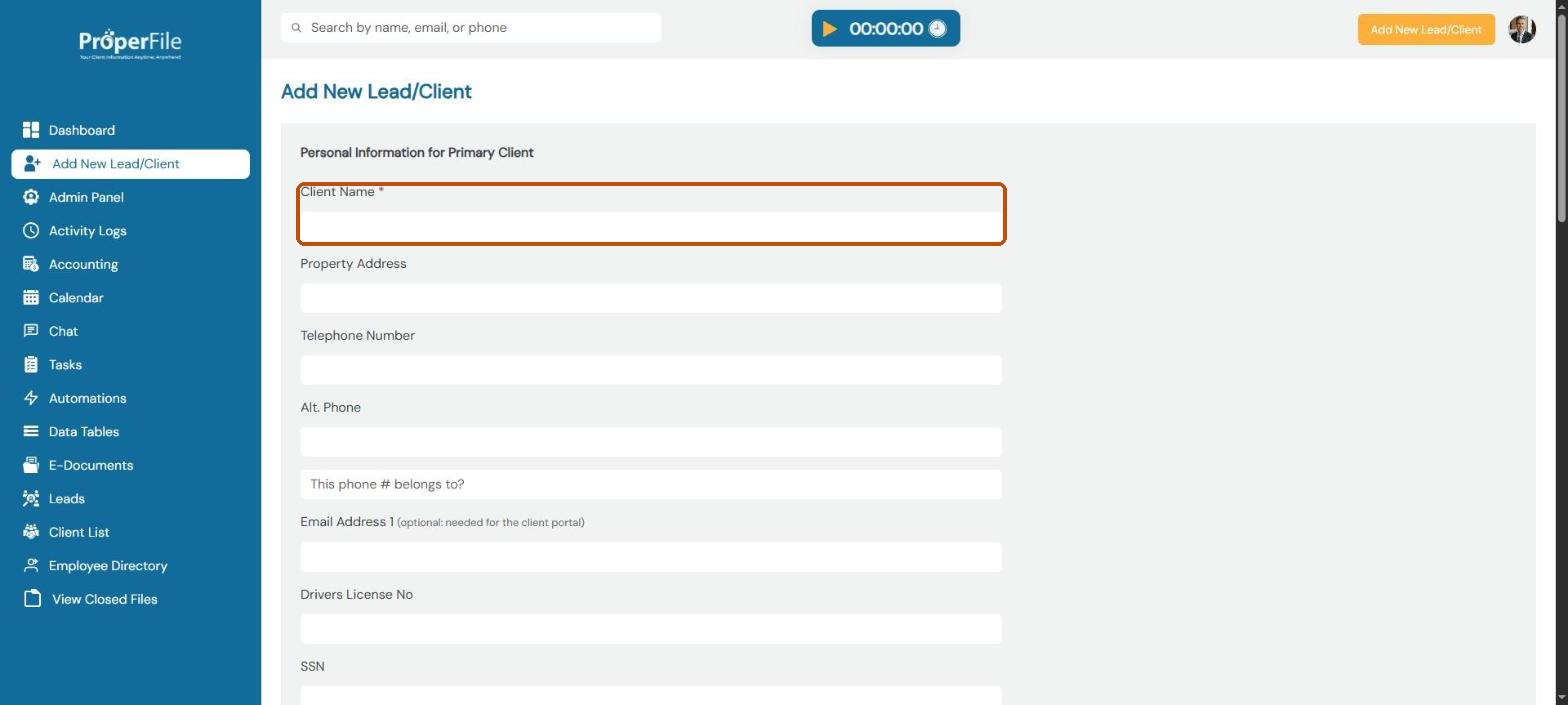
Type the client’s name
In Personal Information for Primary Client, type the client’s full name in Client Name. It’s the only required box in this section.
Step 3
Add their contact details
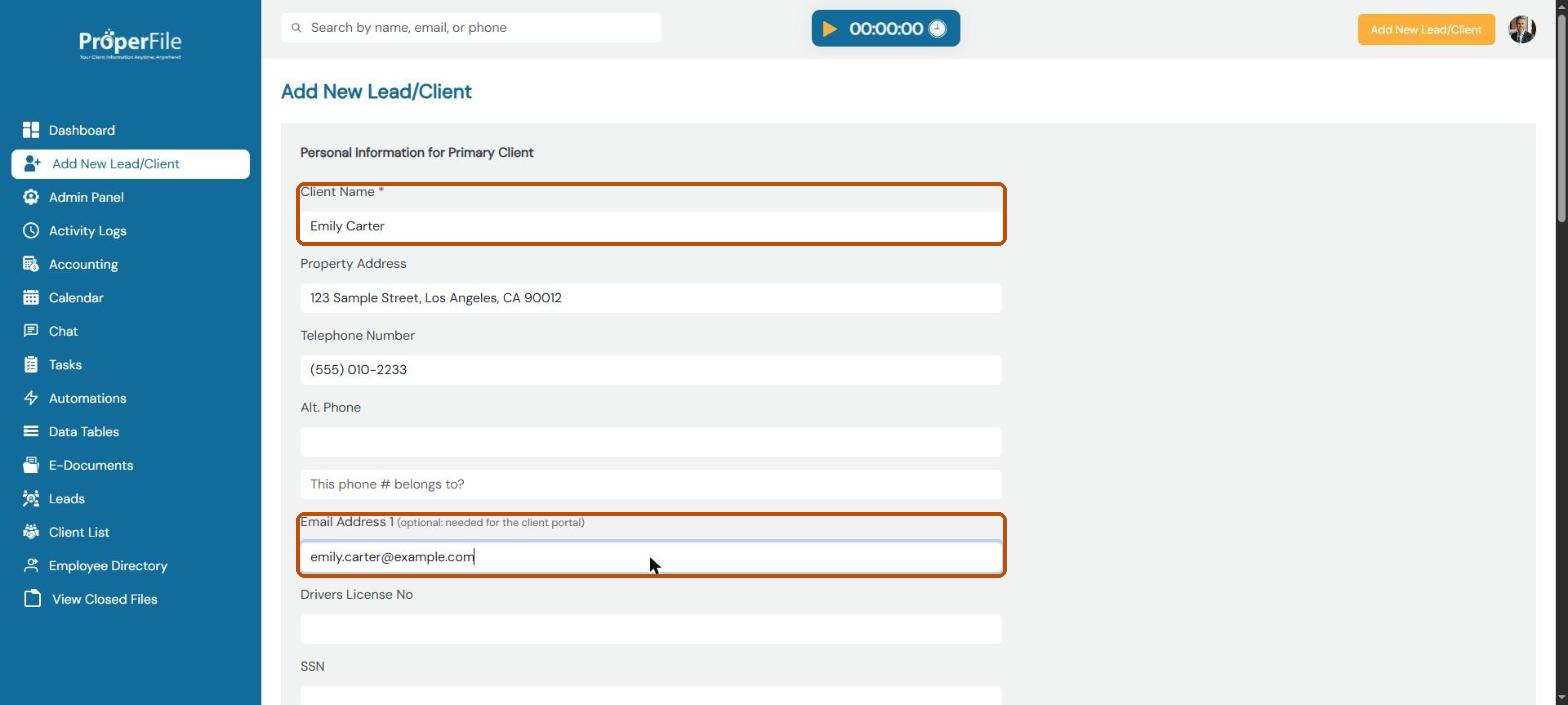
Fill in the address, telephone number and email address. If the phone number belongs to someone else, such as a spouse, use Alt. Phone and the This phone # belongs to? box.
Tip: add an email address if the client will use the client portal. You can still save a client without one, and invite them later once you add an email.
Step 4
Add other details (optional)
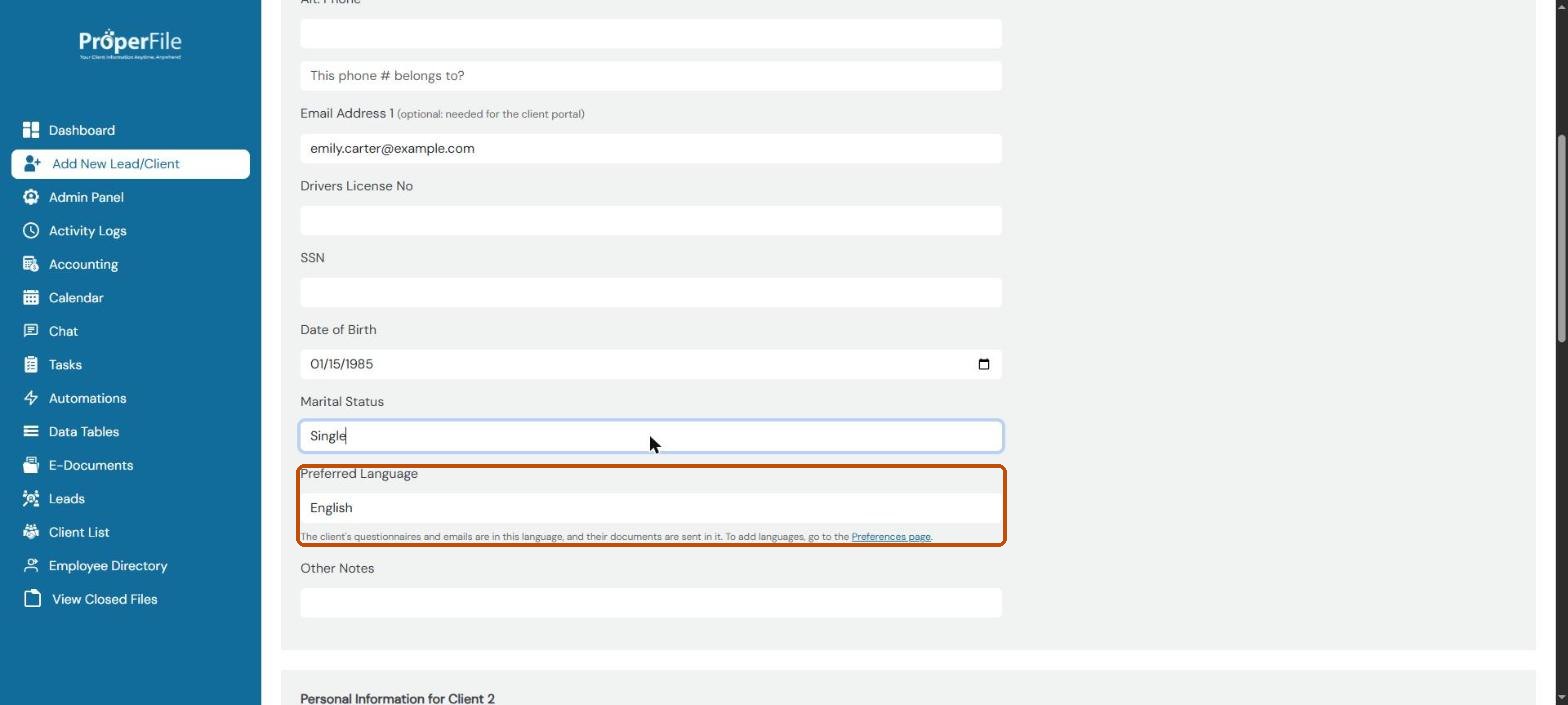
You can also add a driver’s license number, Social Security number, date of birth and marital status. The SSN is formatted for you as you type (123-45-6789).
Preferred Language sets the language of the client’s questionnaires, emails and documents. To offer more languages, go to the Preferences page in the Admin Panel.
Step 5
Add a second client (optional)
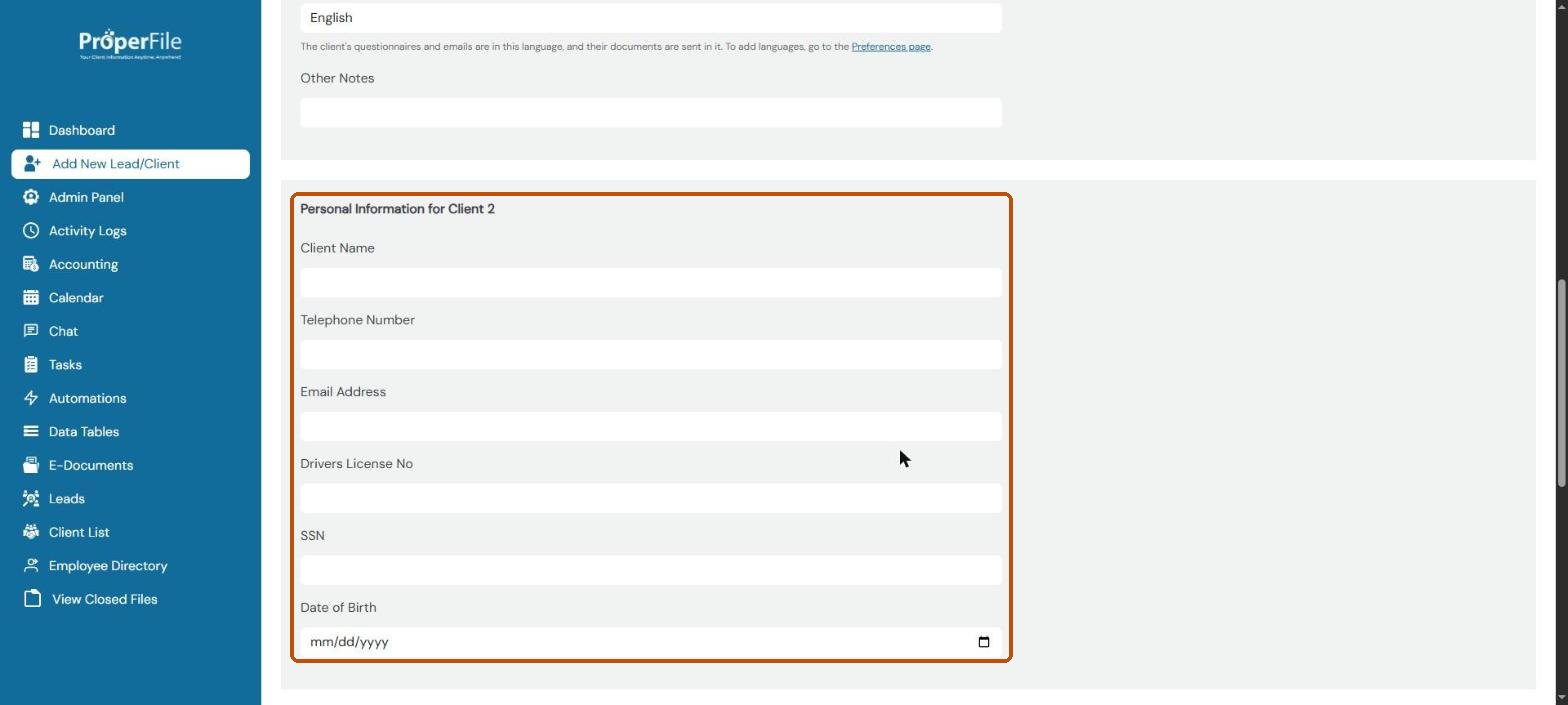
For a joint case, such as a married couple filing together, fill in Personal Information for Client 2. Otherwise leave this section empty.
Step 6
Choose the case type and save
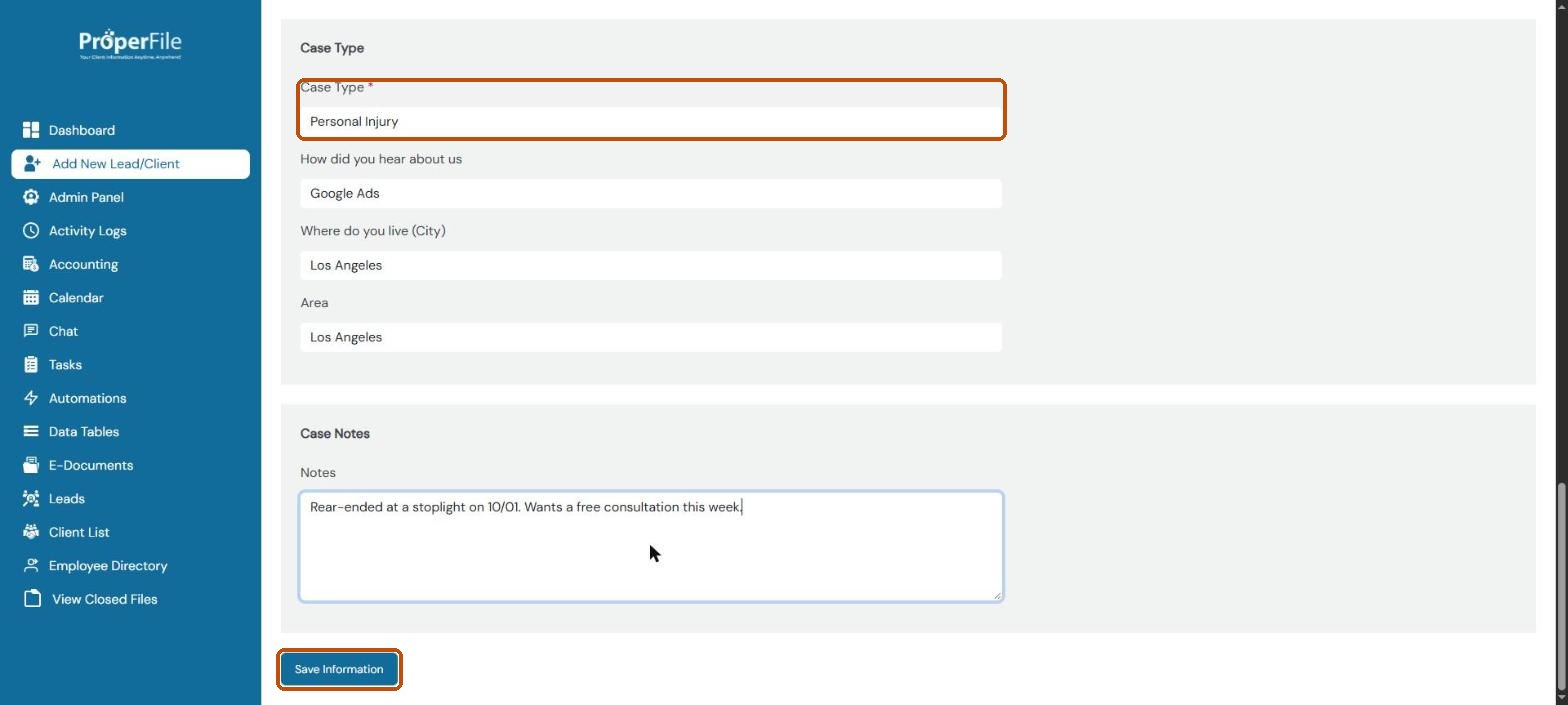
Pick a Case Type (required). Then choose How did you hear about us, type the city, pick an Area, and add any Case Notes. Click Save Information.
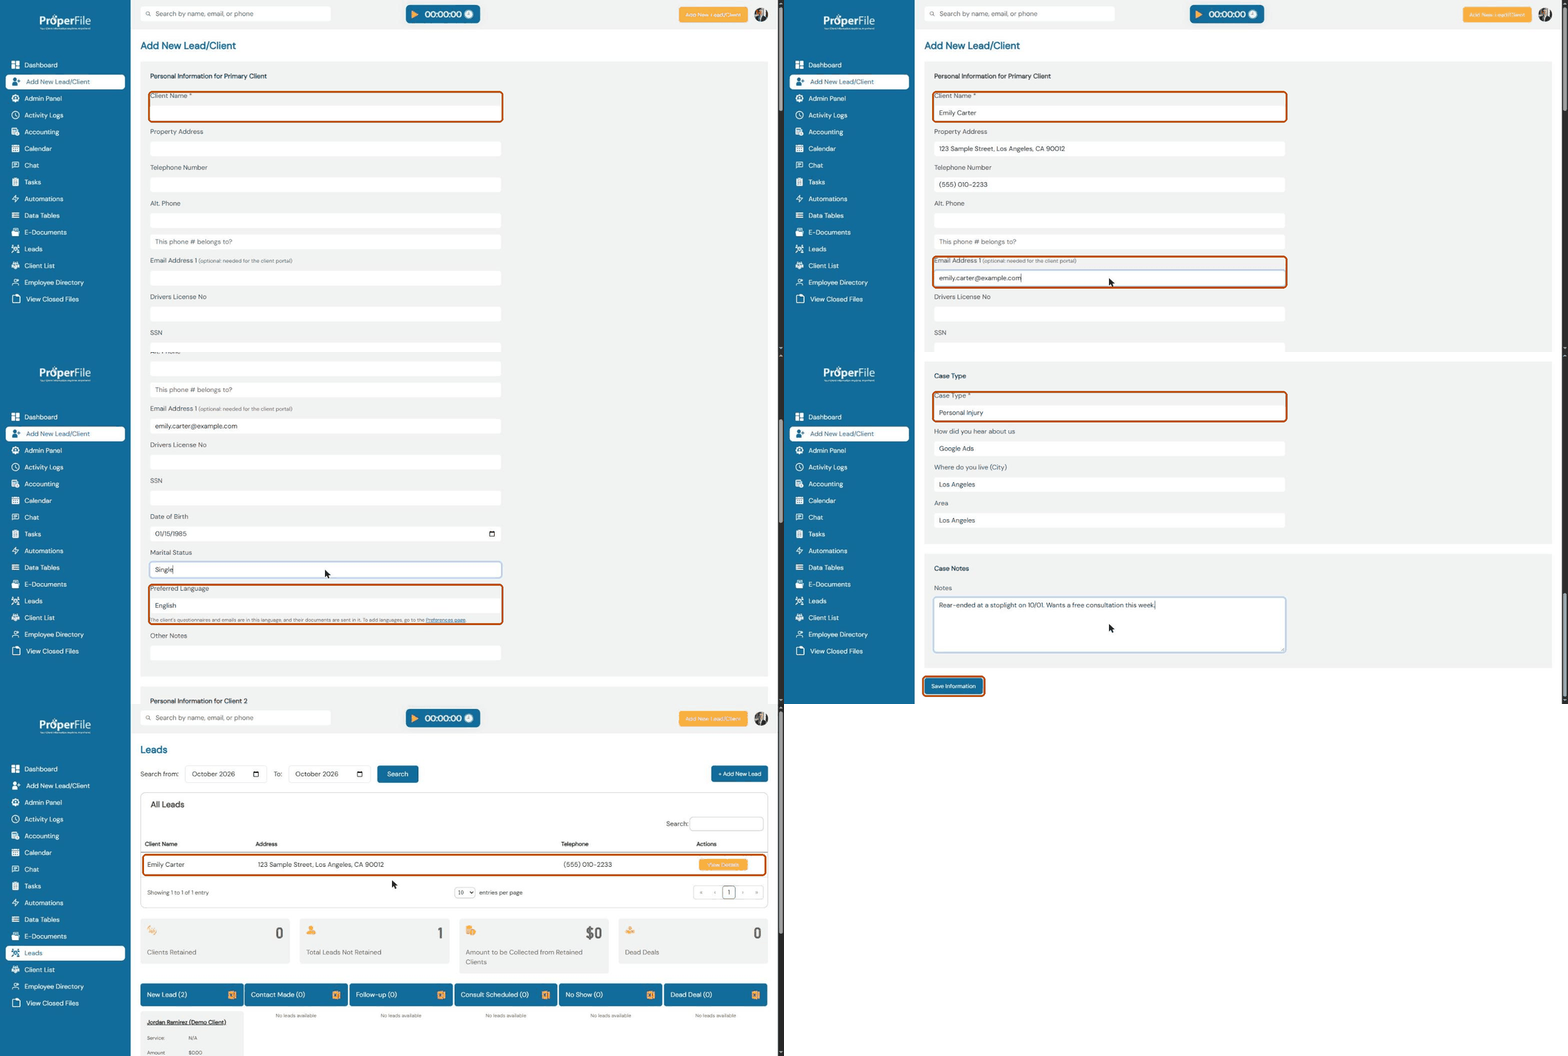
Watch it: filling in and saving the form
Step 7
Find your new lead
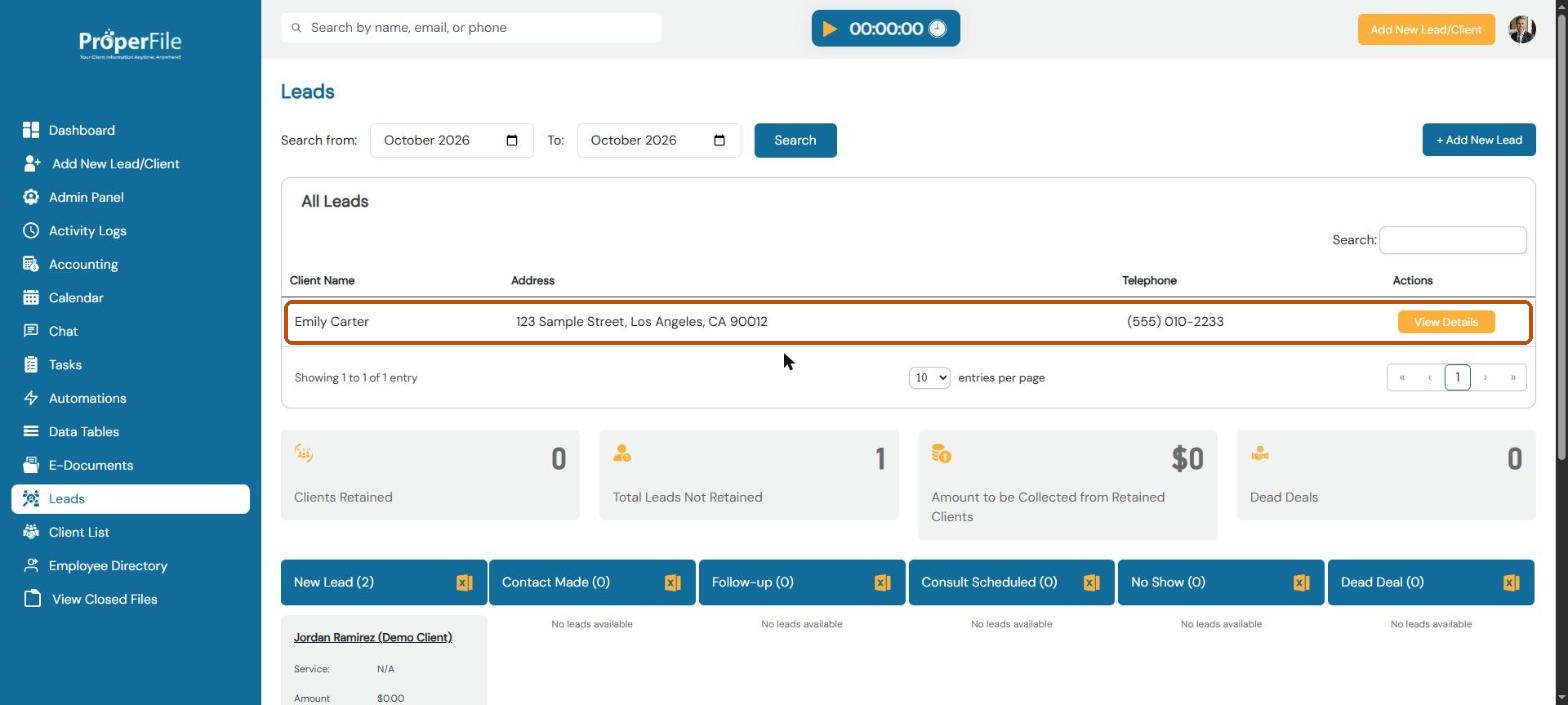
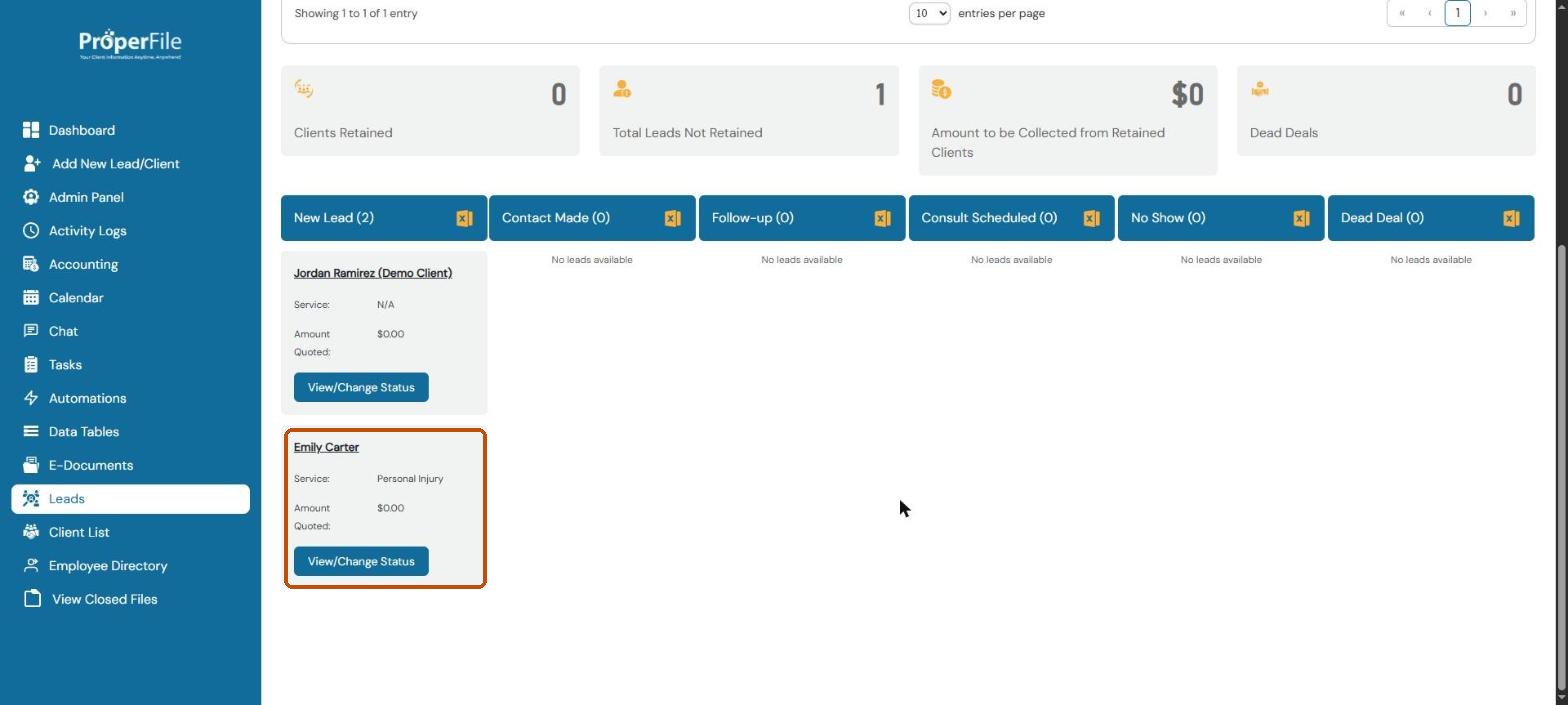
ProperFile saves the person as a lead and opens the Leads page. They appear in the All Leads list.
Step 8
Open the lead
Scroll down to the New Lead column and click the lead’s name on their card.
Tip:View/Change Status on the card lets you move a lead along as you work with them: Contact Made, Follow-up, Consult Scheduled, No Show or Dead Deal.
Step 9
Convert the lead into a client
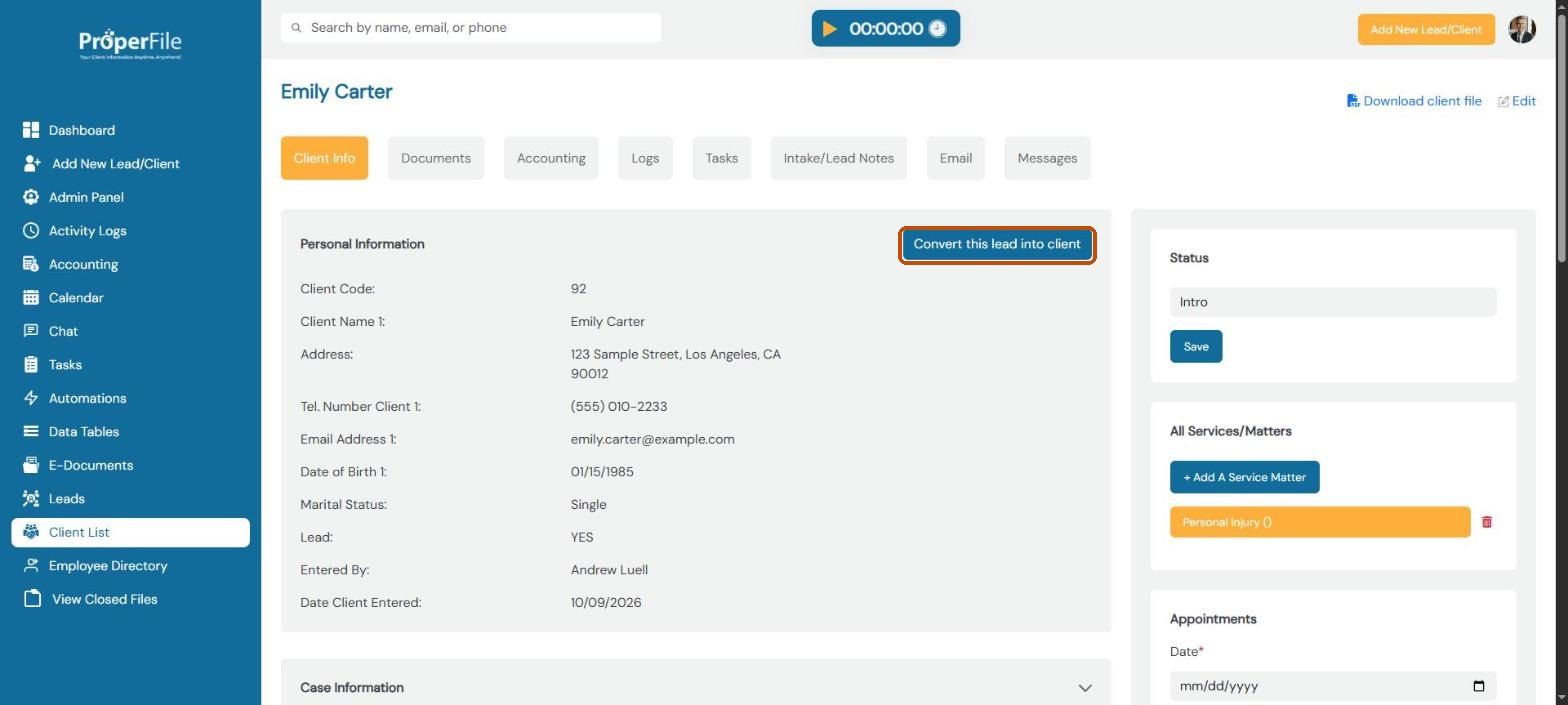
When the person hires your firm, click Convert this lead into client on their page.
Step 10
Confirm
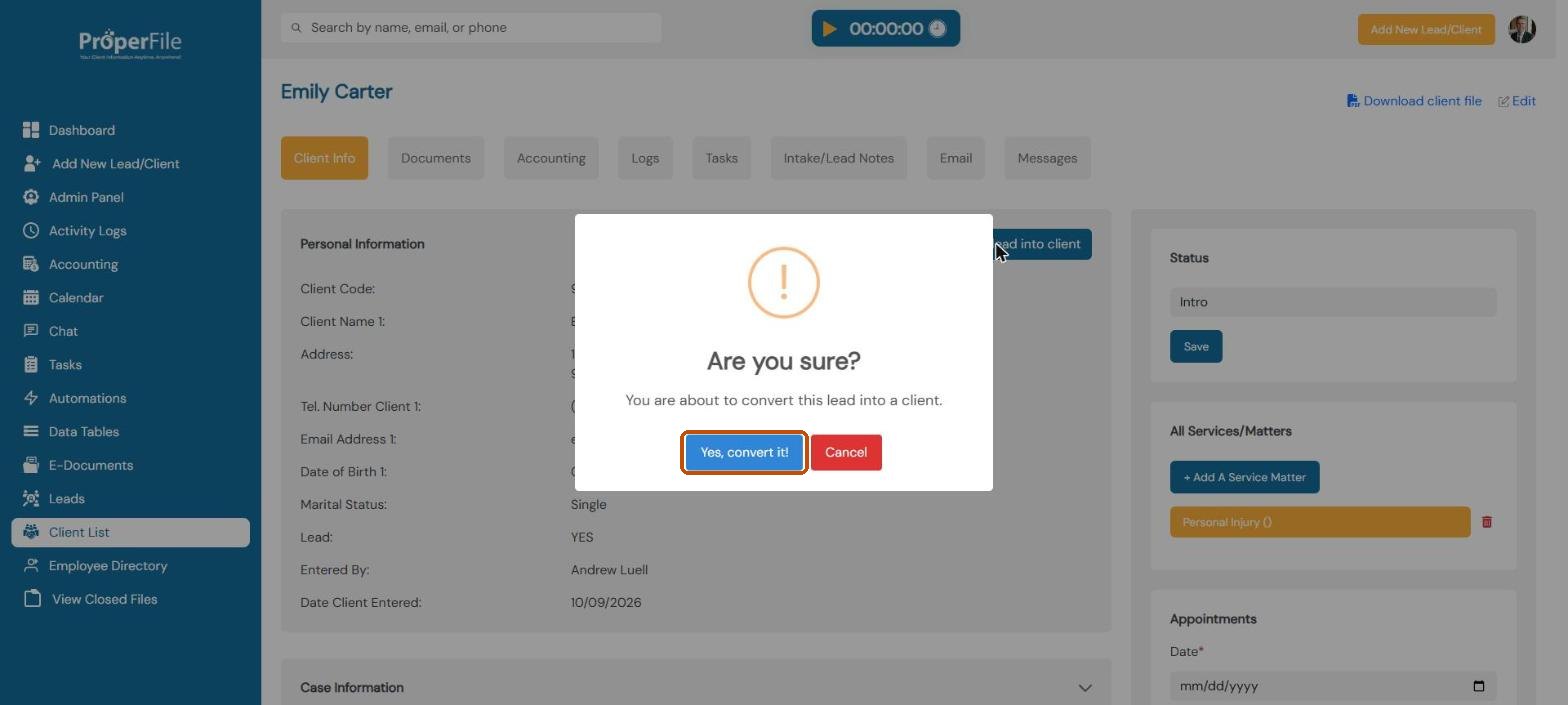
Click Yes, convert it! to confirm.
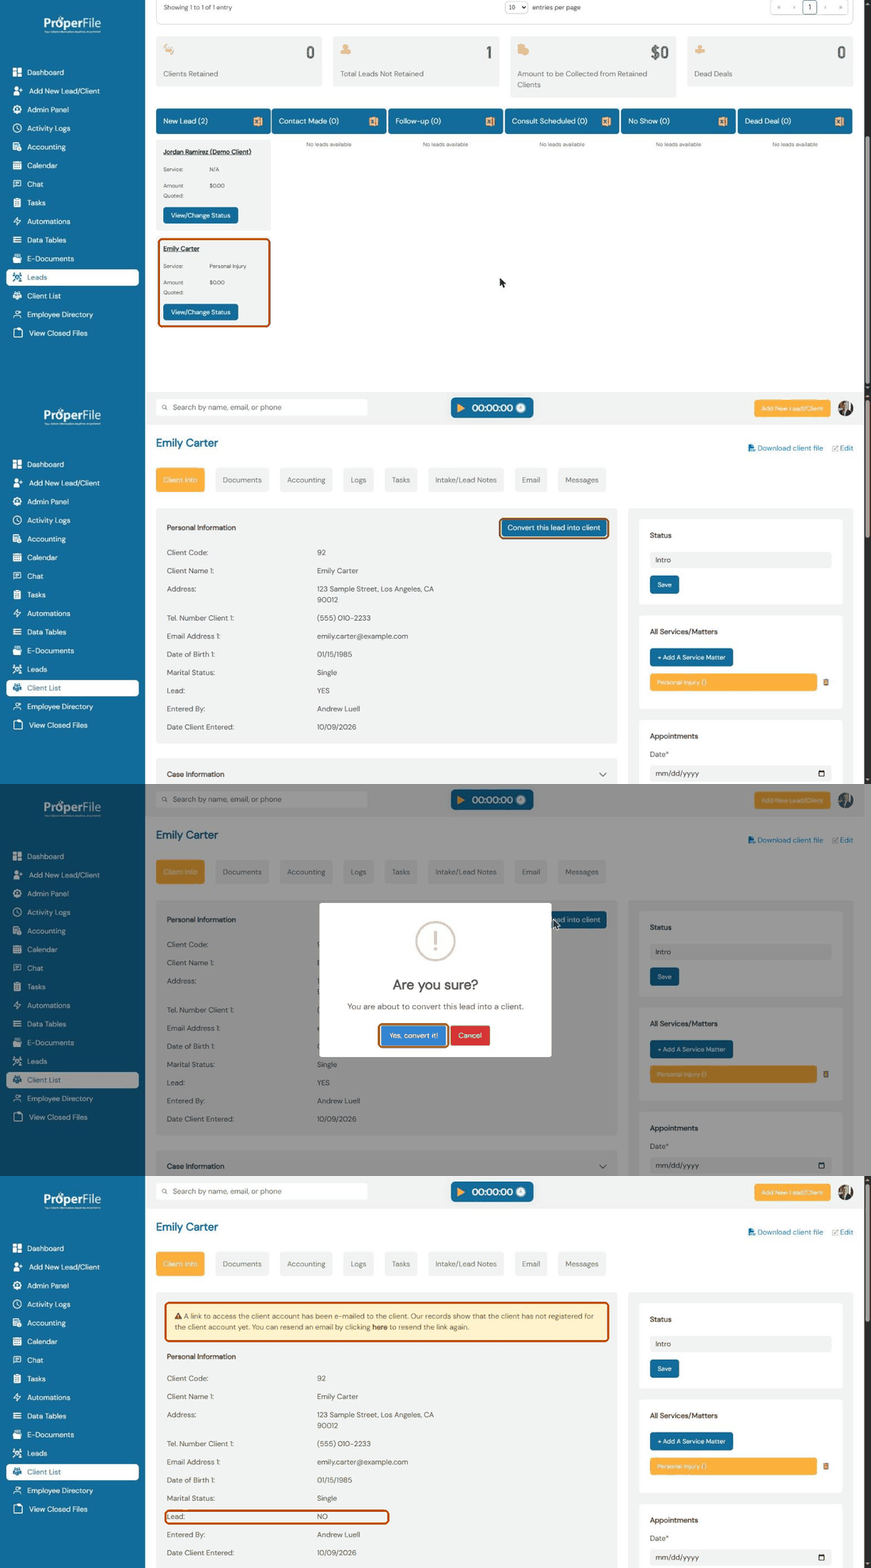
Watch it: converting a lead into a client
Step 11
The client gets a portal invitation
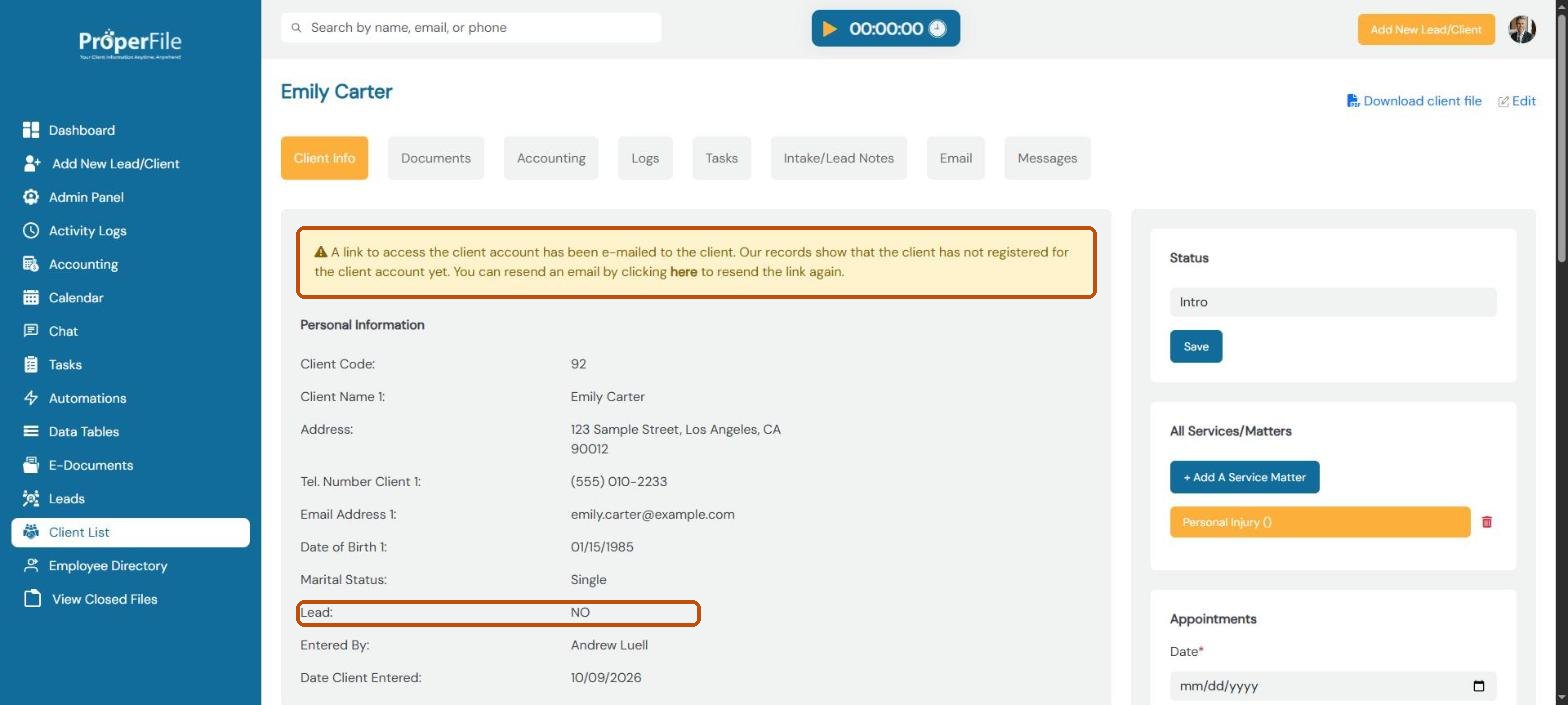
The page reloads and Lead now says NO. If the client has an email address, ProperFile emails them a link to set up their client portal account. A yellow notice stays on their page until they register. Click here in the notice to send the link again.
Step 12
Find the client in your Client List
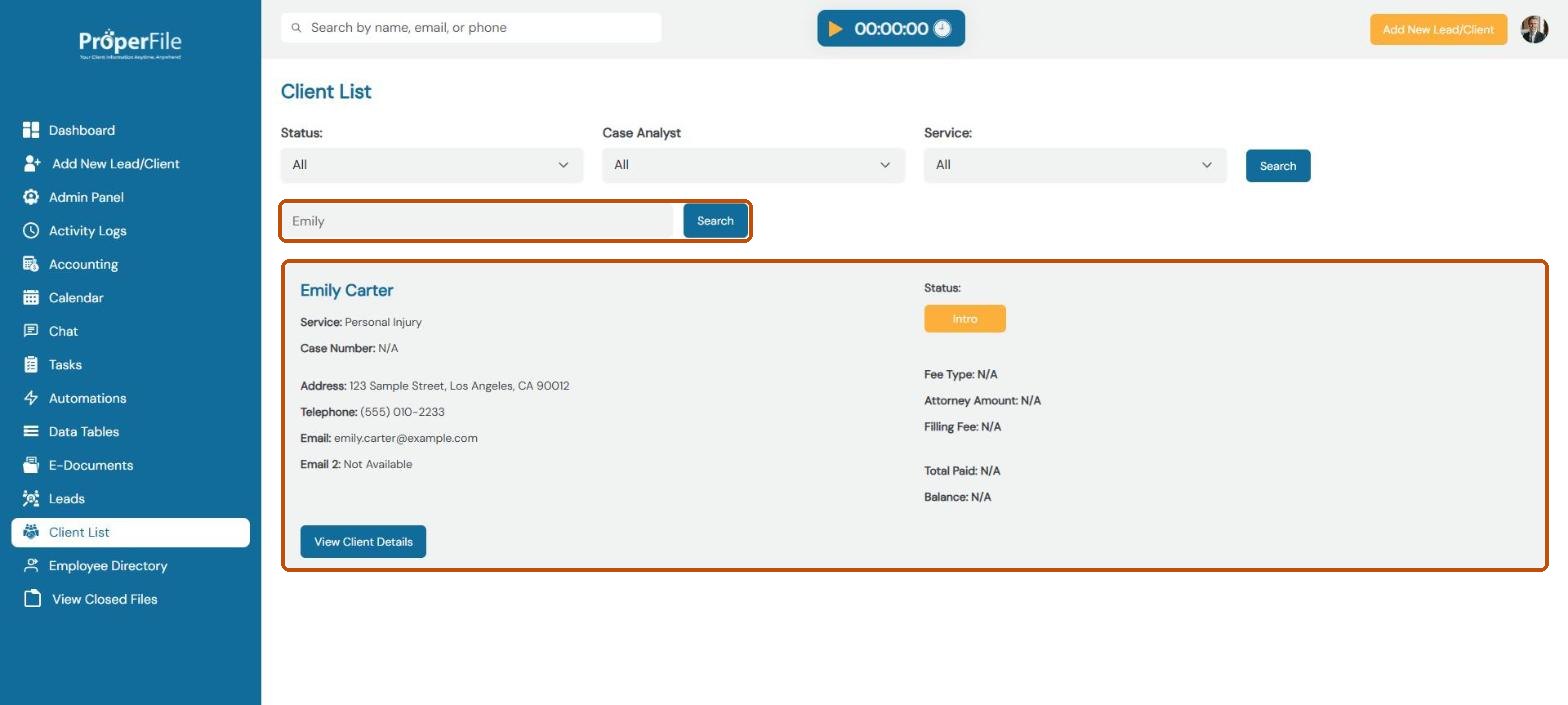
Click Client List in the left menu. Type part of the client’s name in the search box and click Search. Click View Client Details to open their file.