Keep every file for a client in one place. Upload documents to the client’s Documents tab, then sort them into folders.
Time needed: about 2 minutes.
Step 1
Open the client
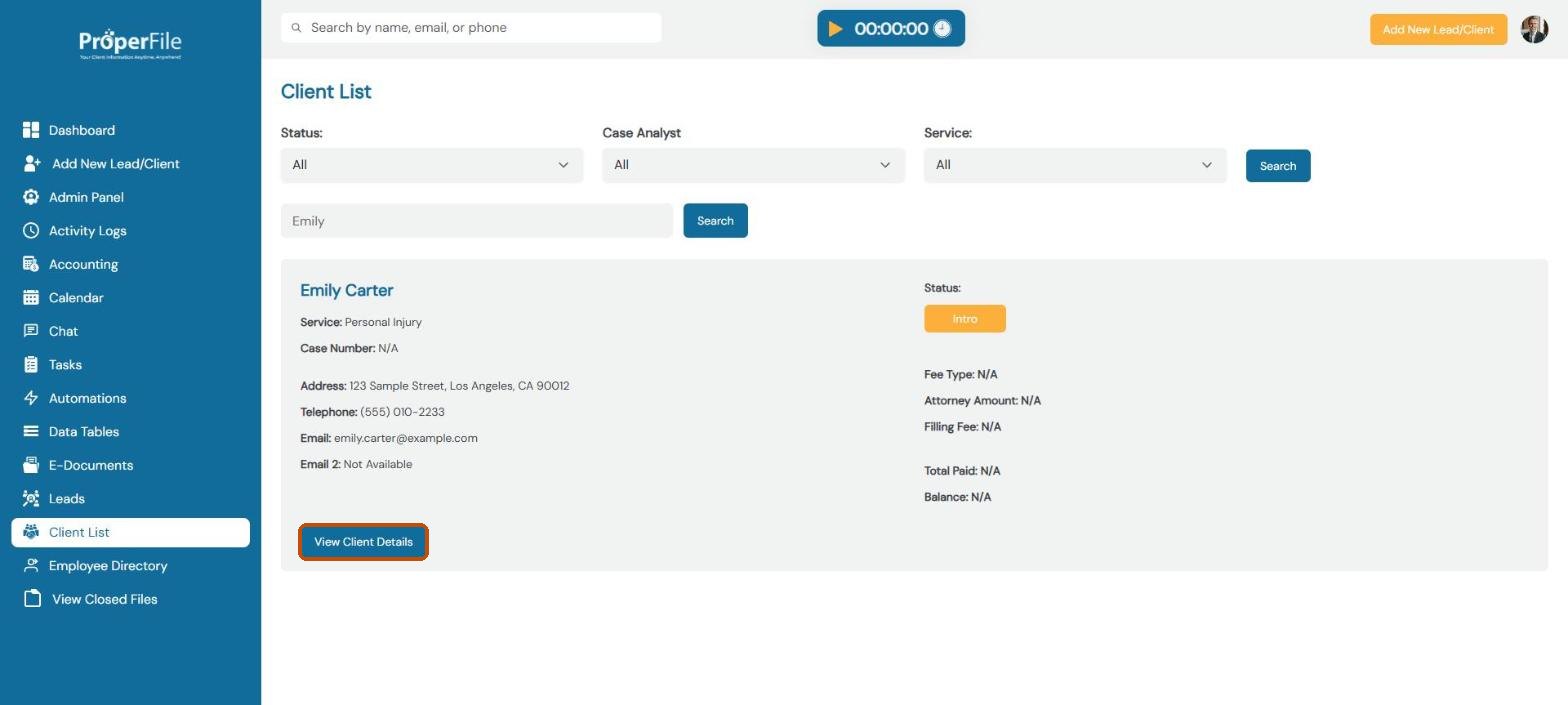
Click Client List in the left menu, find the client and click View Client Details. You can also type the client’s name in the search bar at the top of any page.
Step 2
Go to the Documents tab
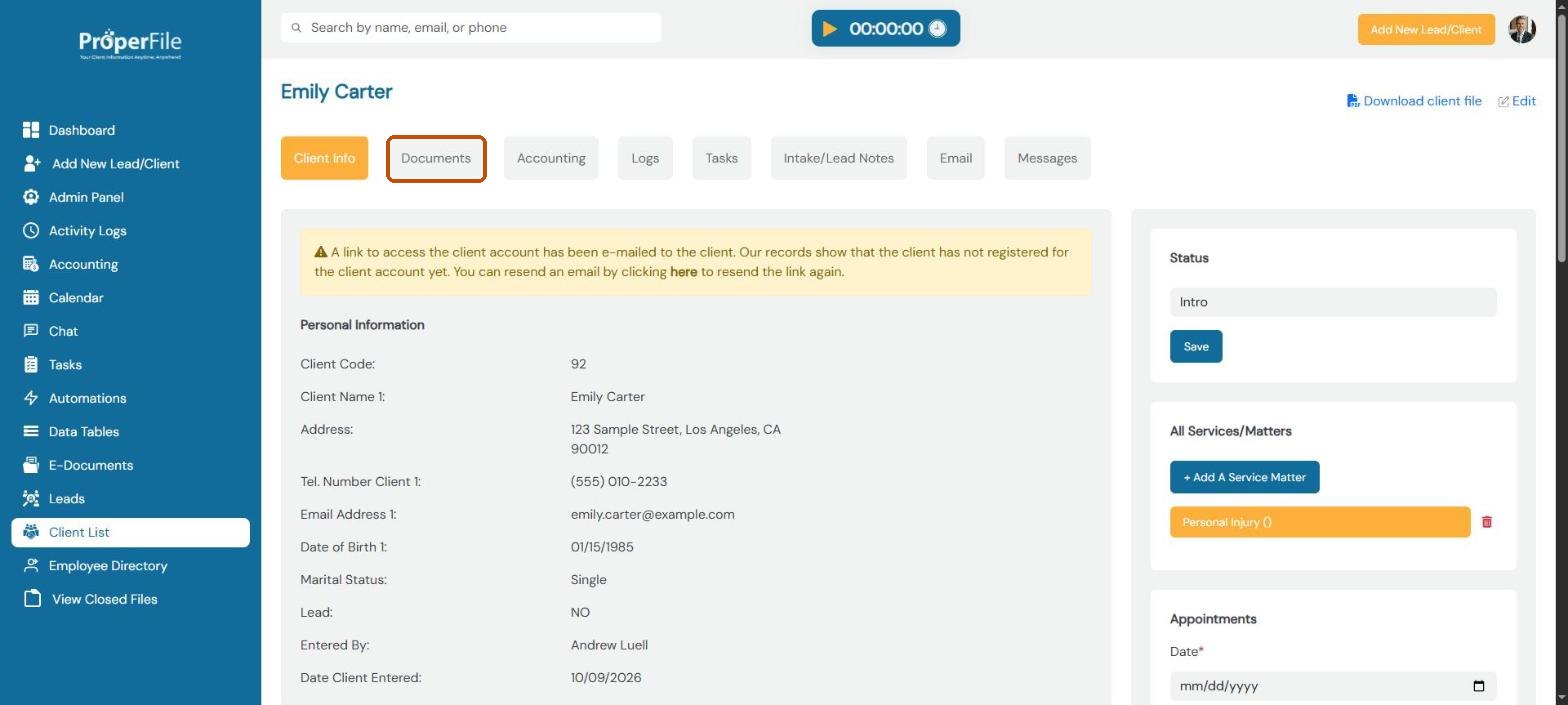
Click the Documents tab.
Step 3
Upload a file
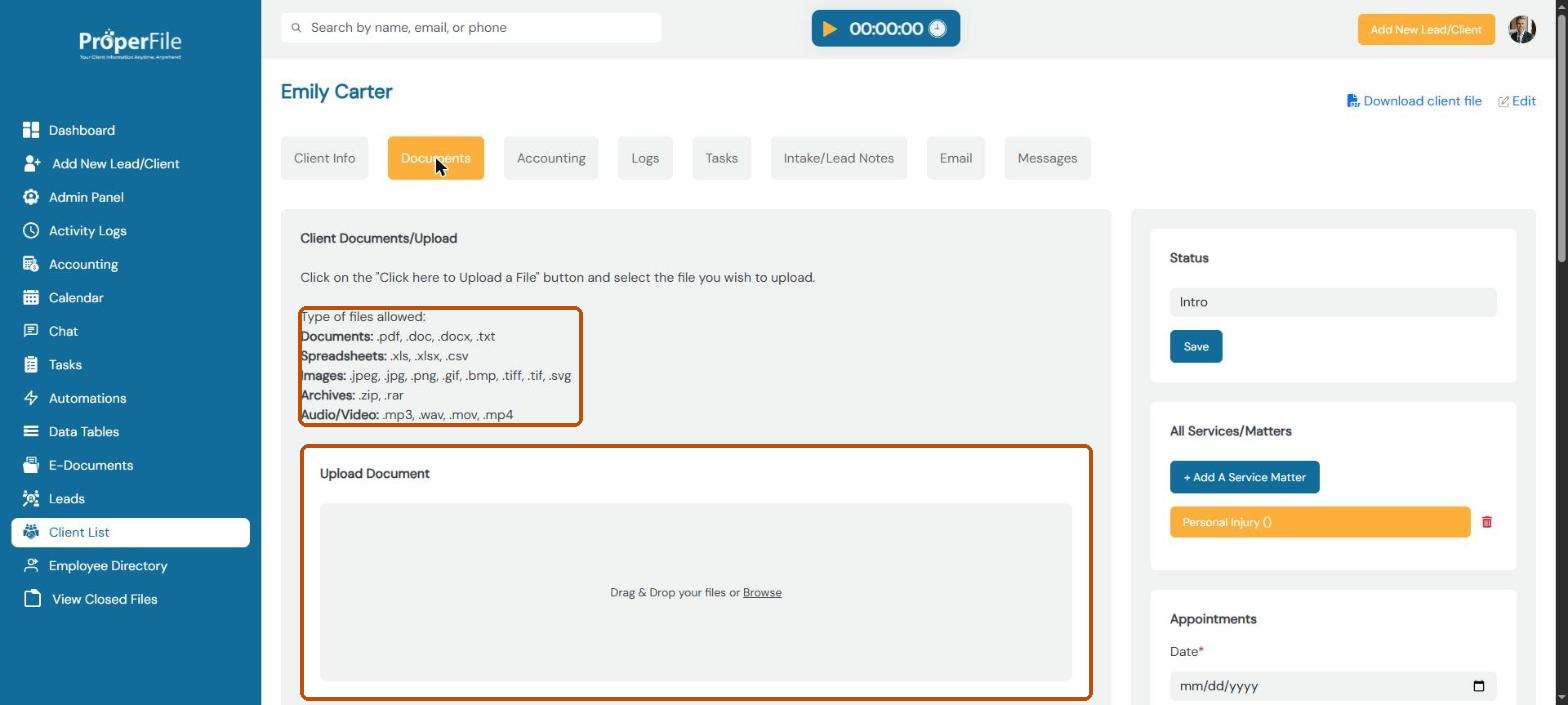
Drag files from your computer onto the Upload Document box, or click Browse and pick them. You can upload documents (PDF, Word, text), spreadsheets, images, ZIP files, and audio or video.
Step 4
Find your file
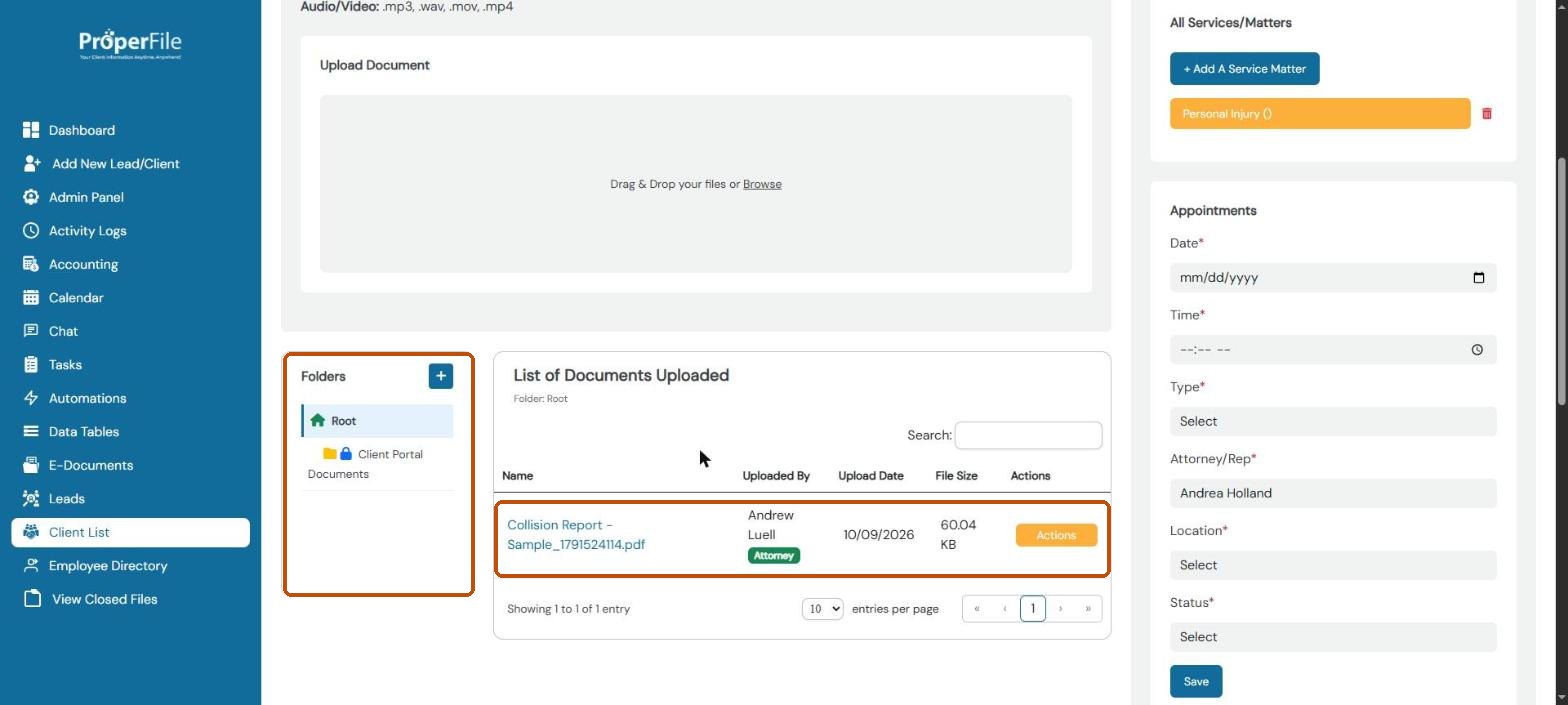
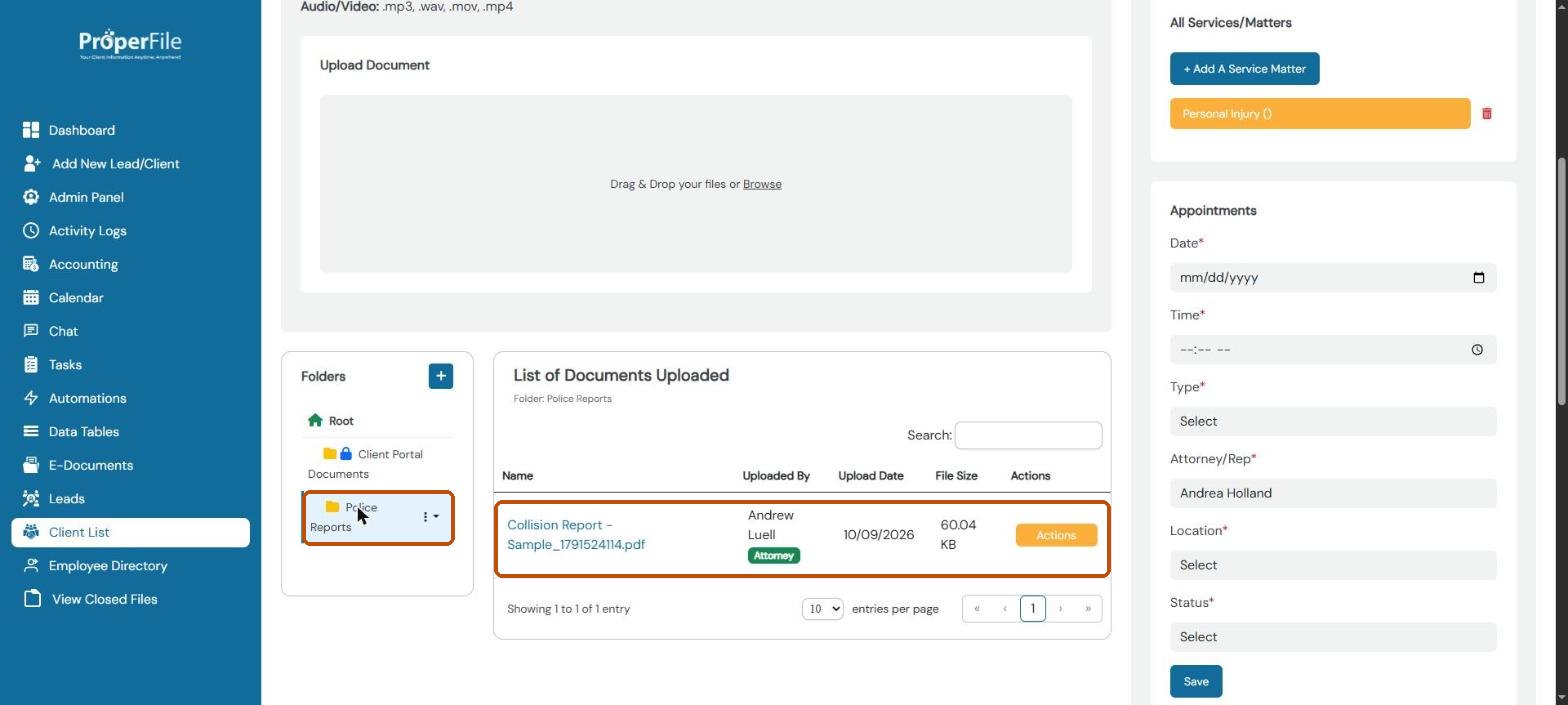
The file appears in List of Documents Uploaded, with who uploaded it, the date and its size. Click its name to open it.
Tip: files in the locked Client Portal Documents folder are shared with your client in the client portal, and files your client uploads appear there.
Step 5
Create a folder
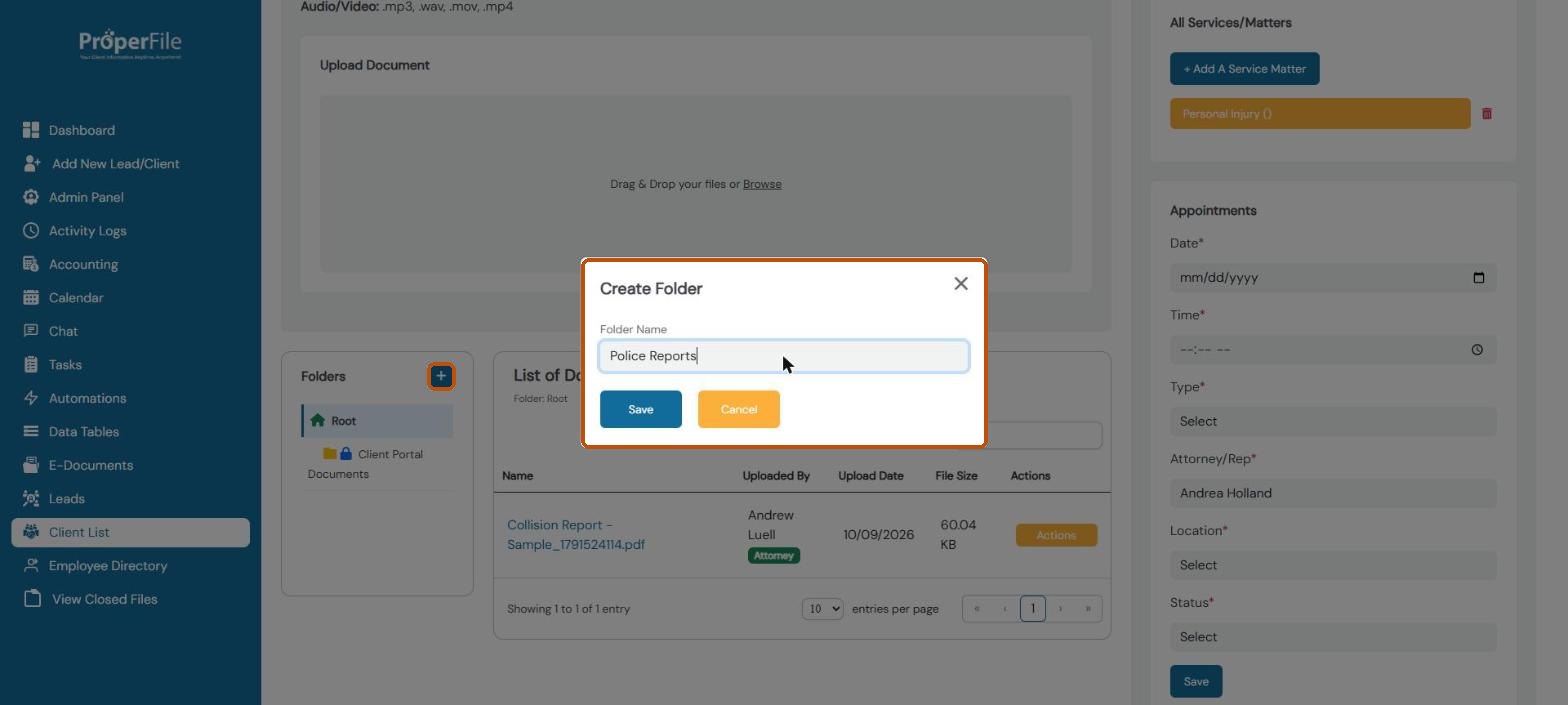
In the Folders panel, click the + button. Type a name such as Police Reports and click Save.
Step 6
Move a document into the folder
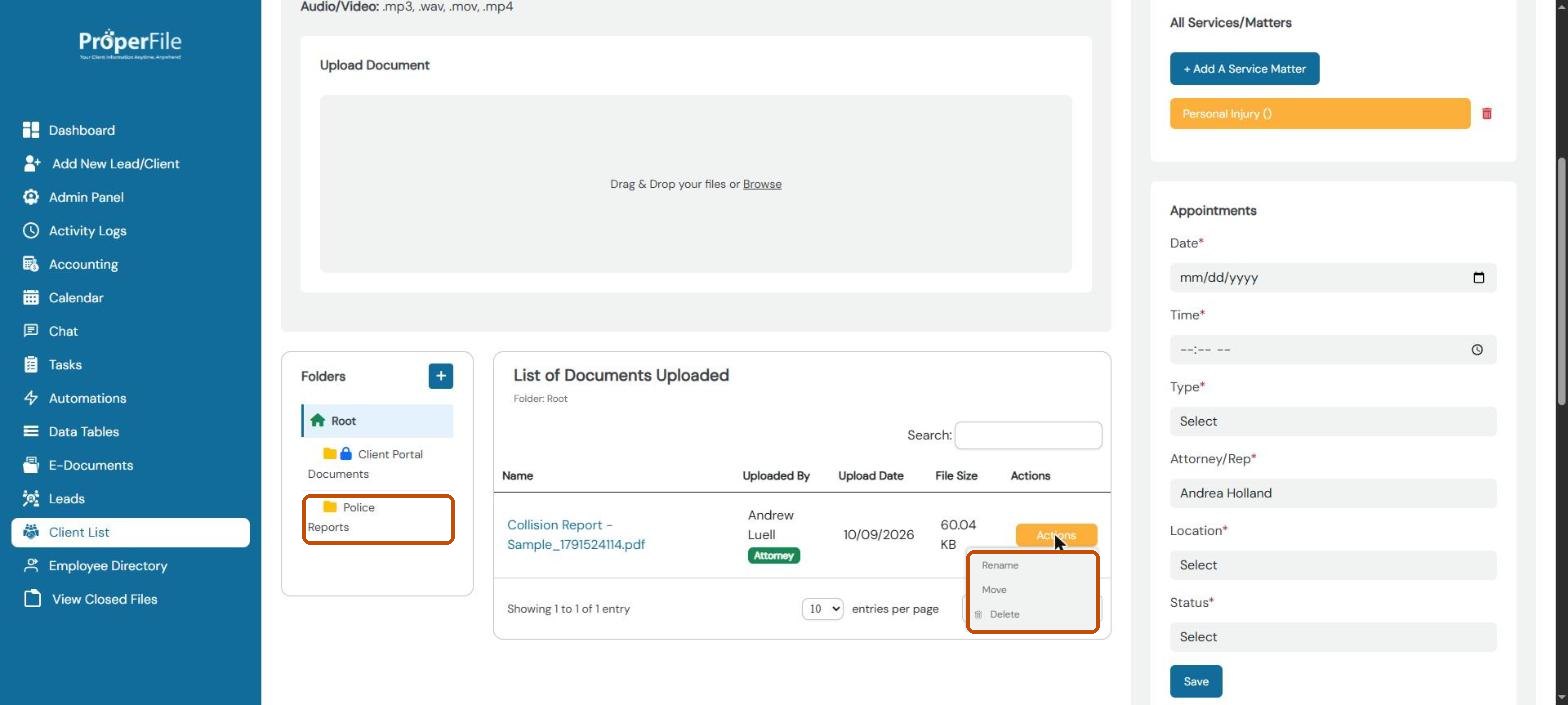
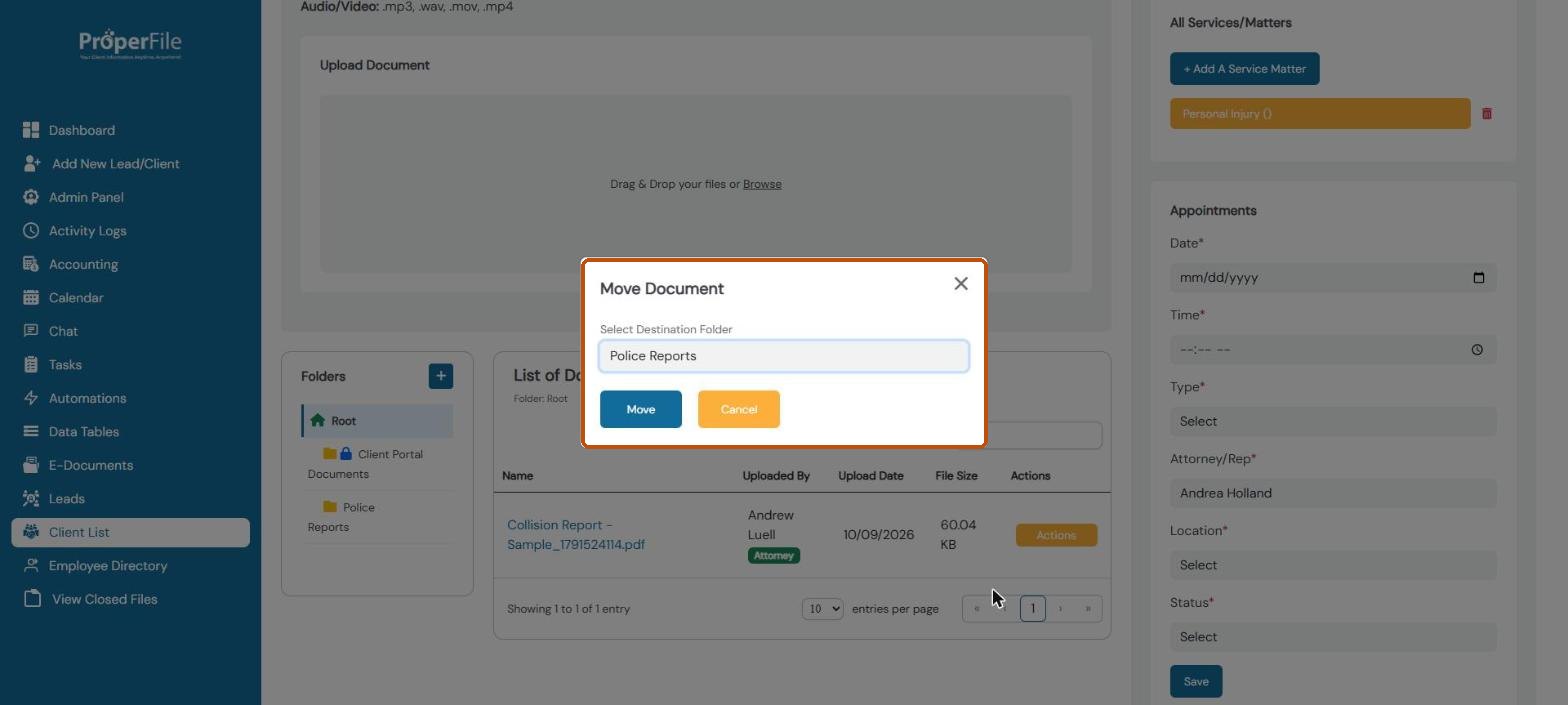
Click Actions next to the document and choose Move. Pick the folder and click Move. The same menu lets you Rename or Delete a document.
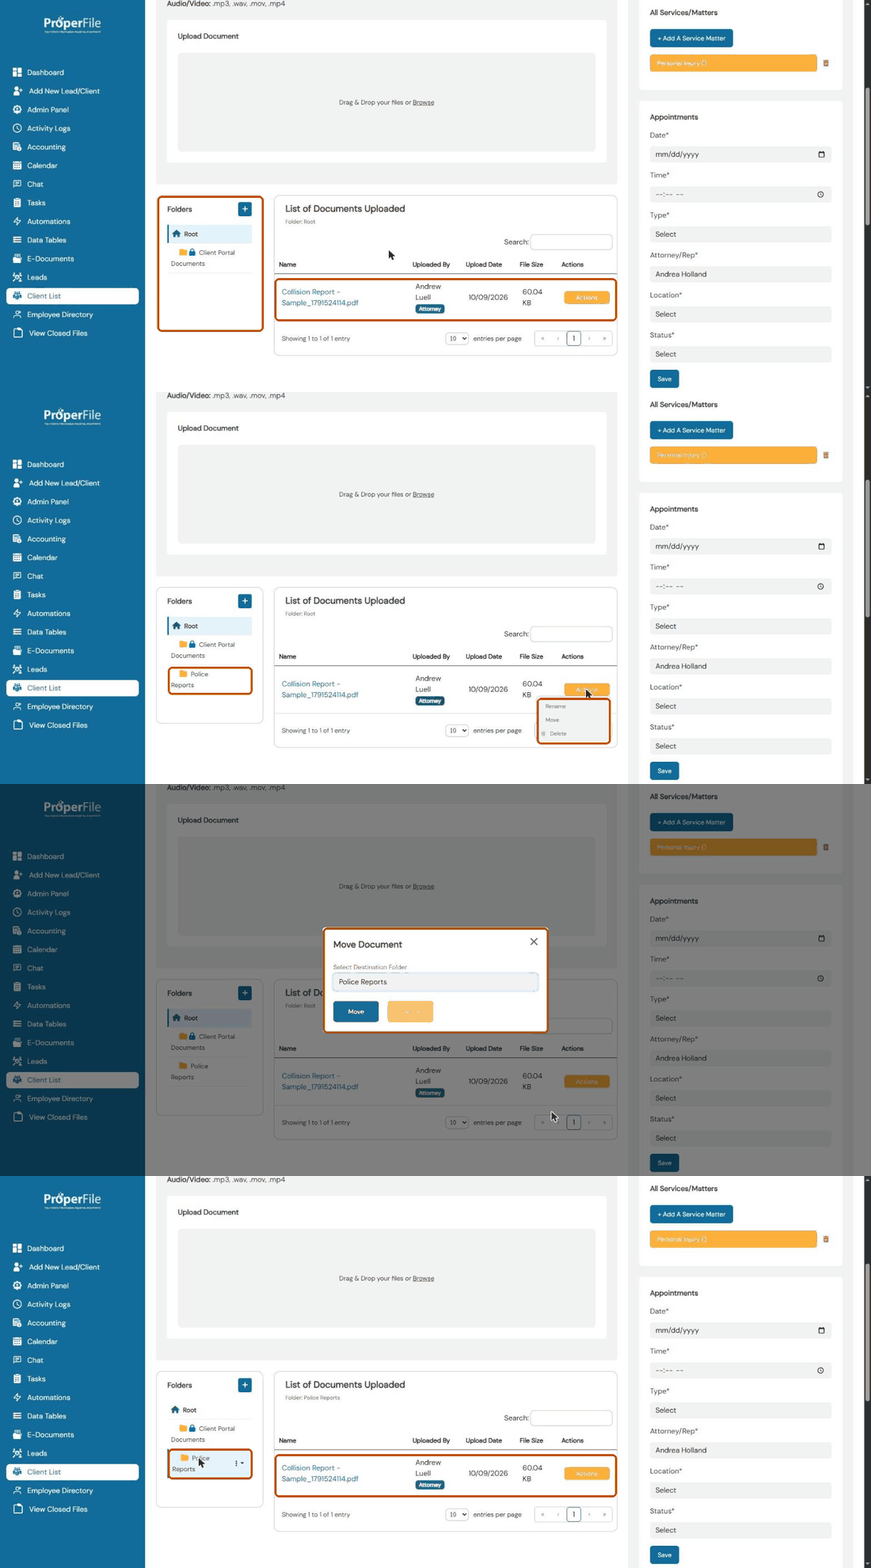
Watch it: moving a document into a folder
Step 7
Open the folder
Click the folder in the Folders panel to see what’s inside. Click Root to go back to the top.
Tip: deleted documents go to the Recycle Bin in the Admin Panel, where you can restore them for 60 days.
What’s next
Keep going
Next, keep track of work with Tasks. All guides are in the Help Center.