Custom fields let you record information ProperFile doesn’t ask for by default, set up separately for each case type. For example, an estate planning firm might track the type of plan each client needs. Fields are organized into groups, which become sections on the client’s page.
Time needed: about 5 minutes.
Before you start: custom fields belong to a case type. If you need a new case type, add it first (see the Case types guide).
Step 1
Open Custom Fields
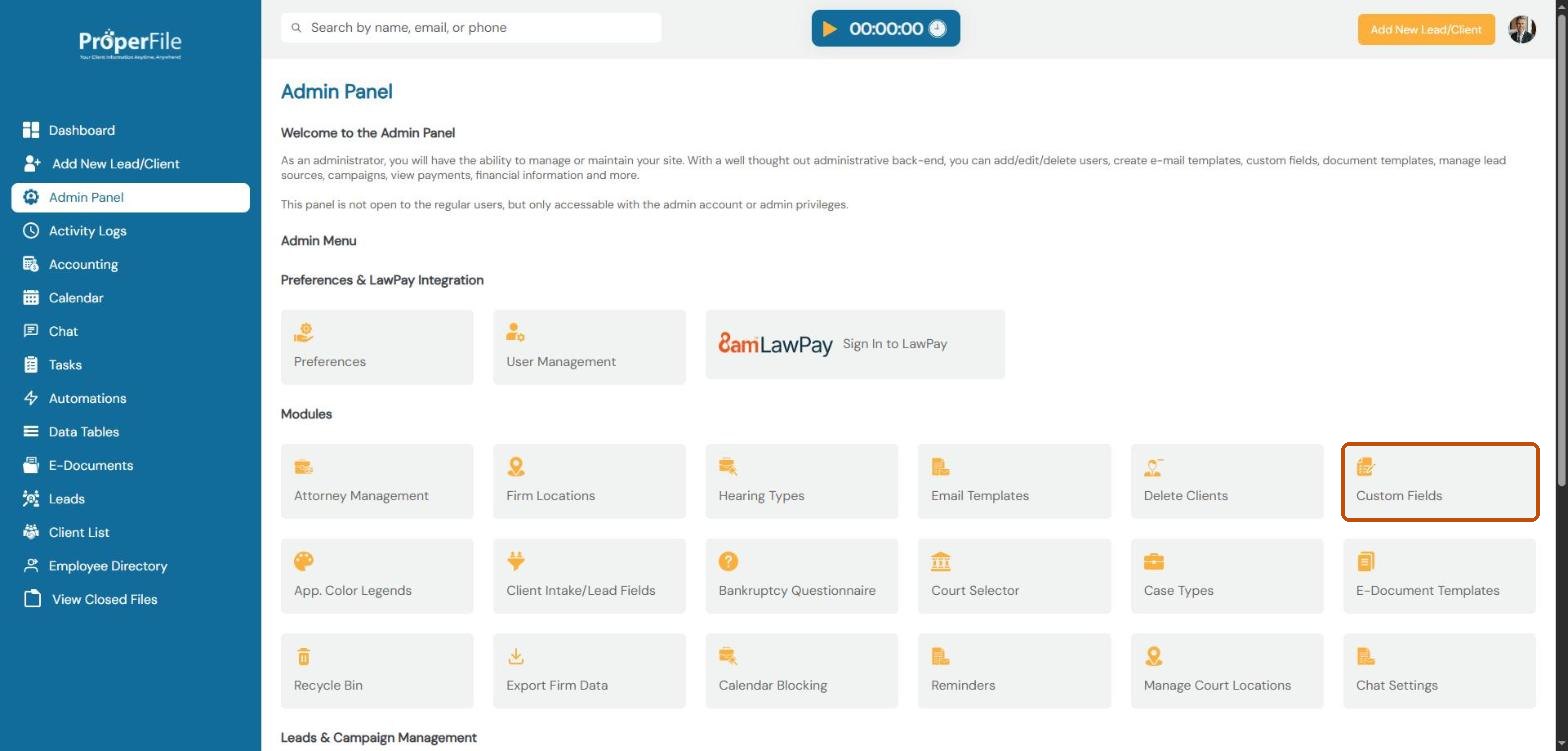
Click Admin Panel in the left menu, then click Custom Fields.
Step 2
Pick a case type
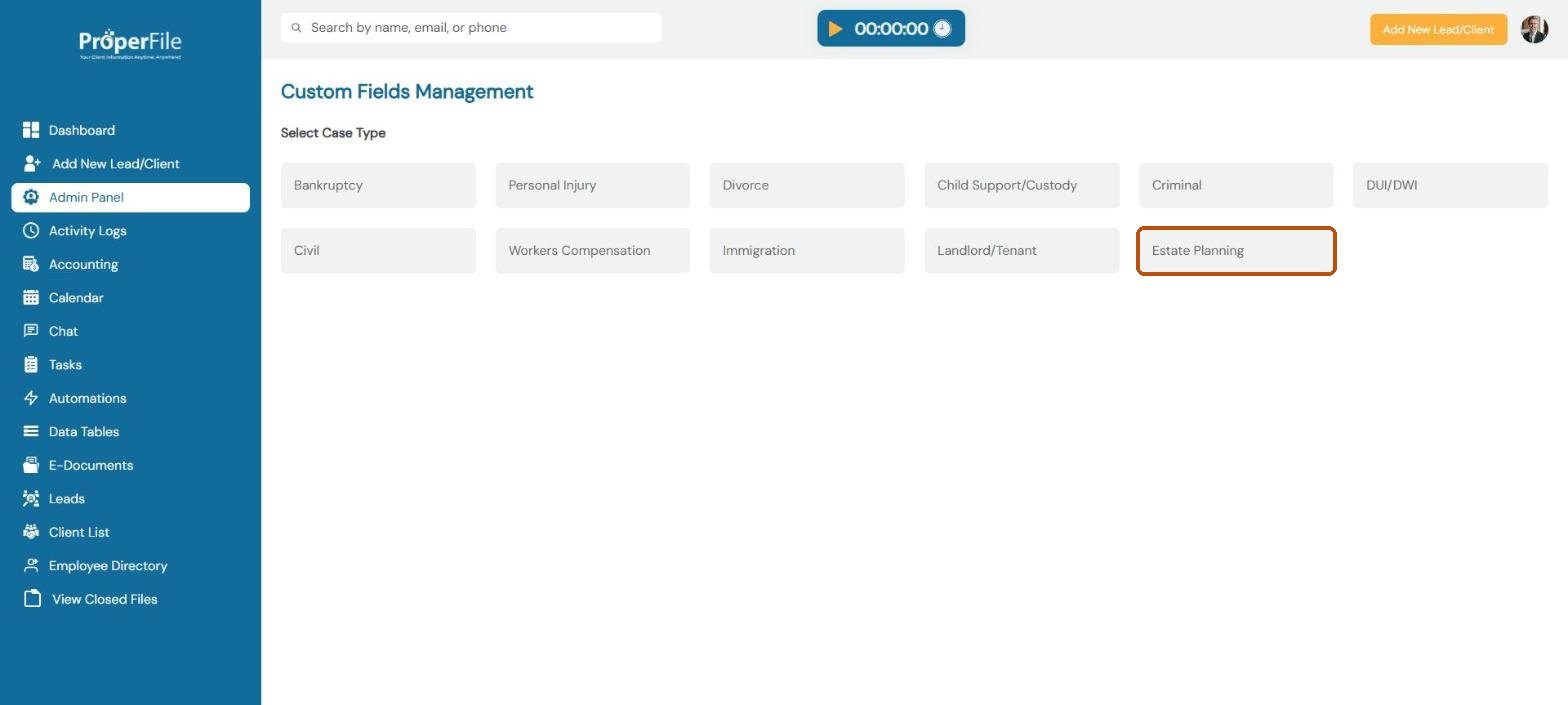
Click the case type you want to add fields to, for example Estate Planning.
Step 3
Add a group
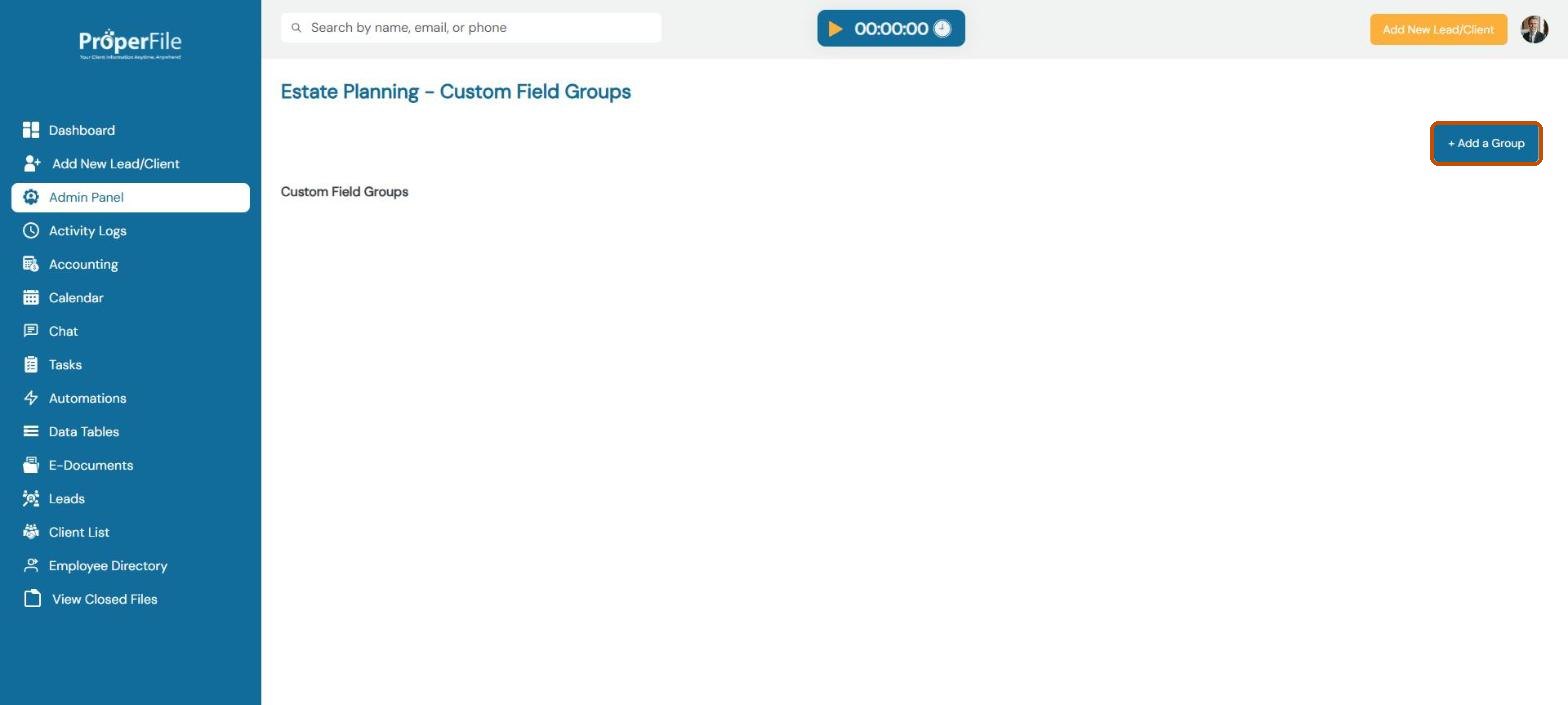
Fields live inside groups, so start with a group. Click + Add a Group.
Step 4
Name the group and submit
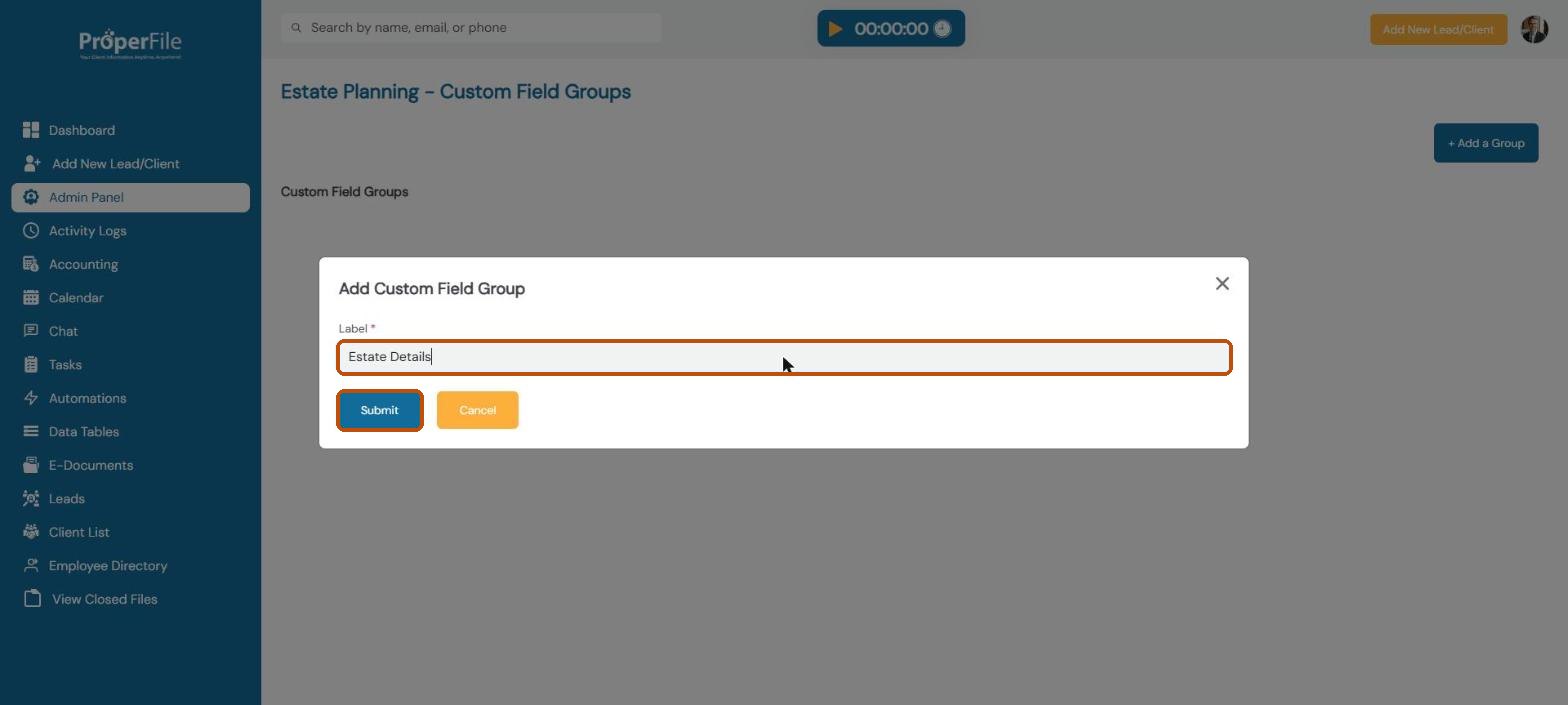
Type a name for the group, such as Estate Details, and click Submit.
Step 5
Open the group
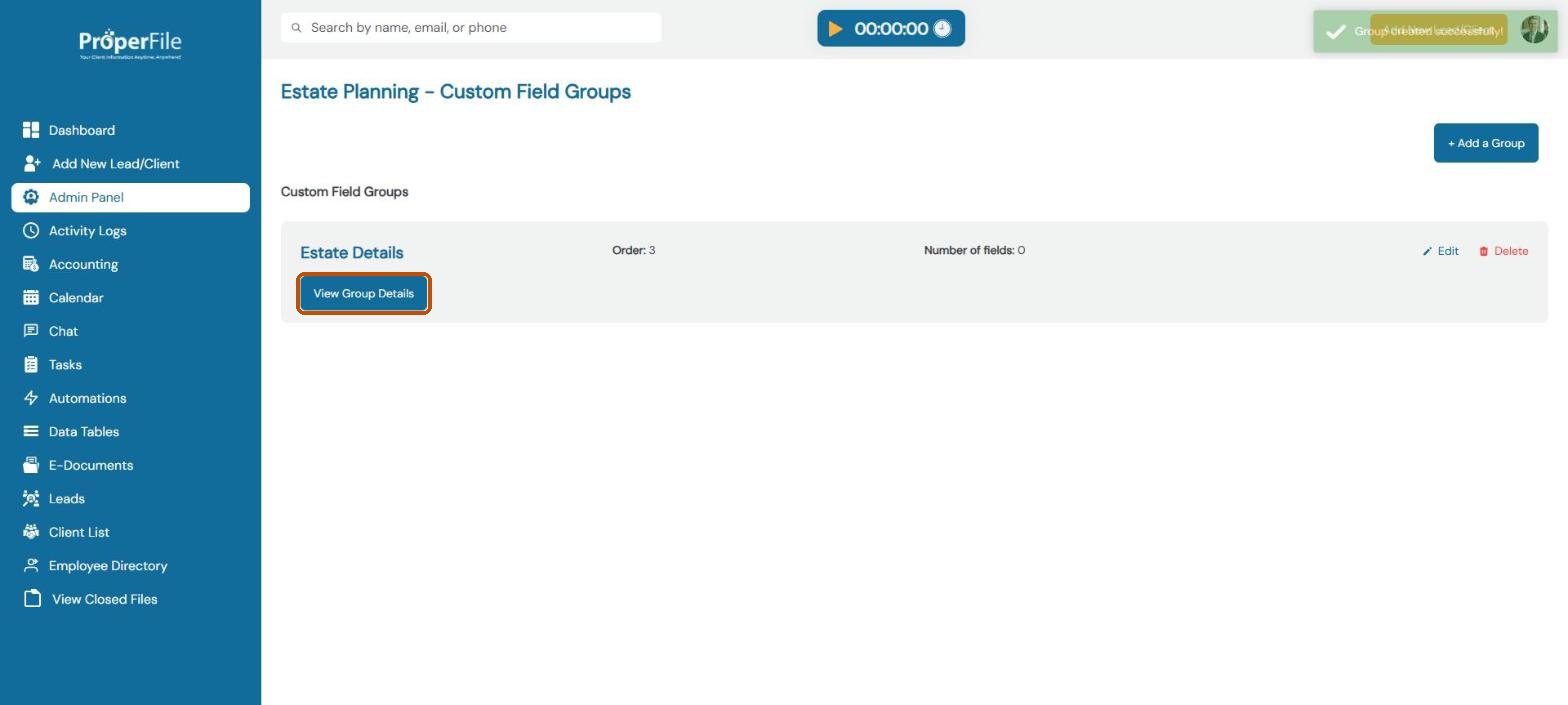
The new group appears in the list. Click View Group Details to add fields to it. You can also Edit or Delete the group here.
Step 6
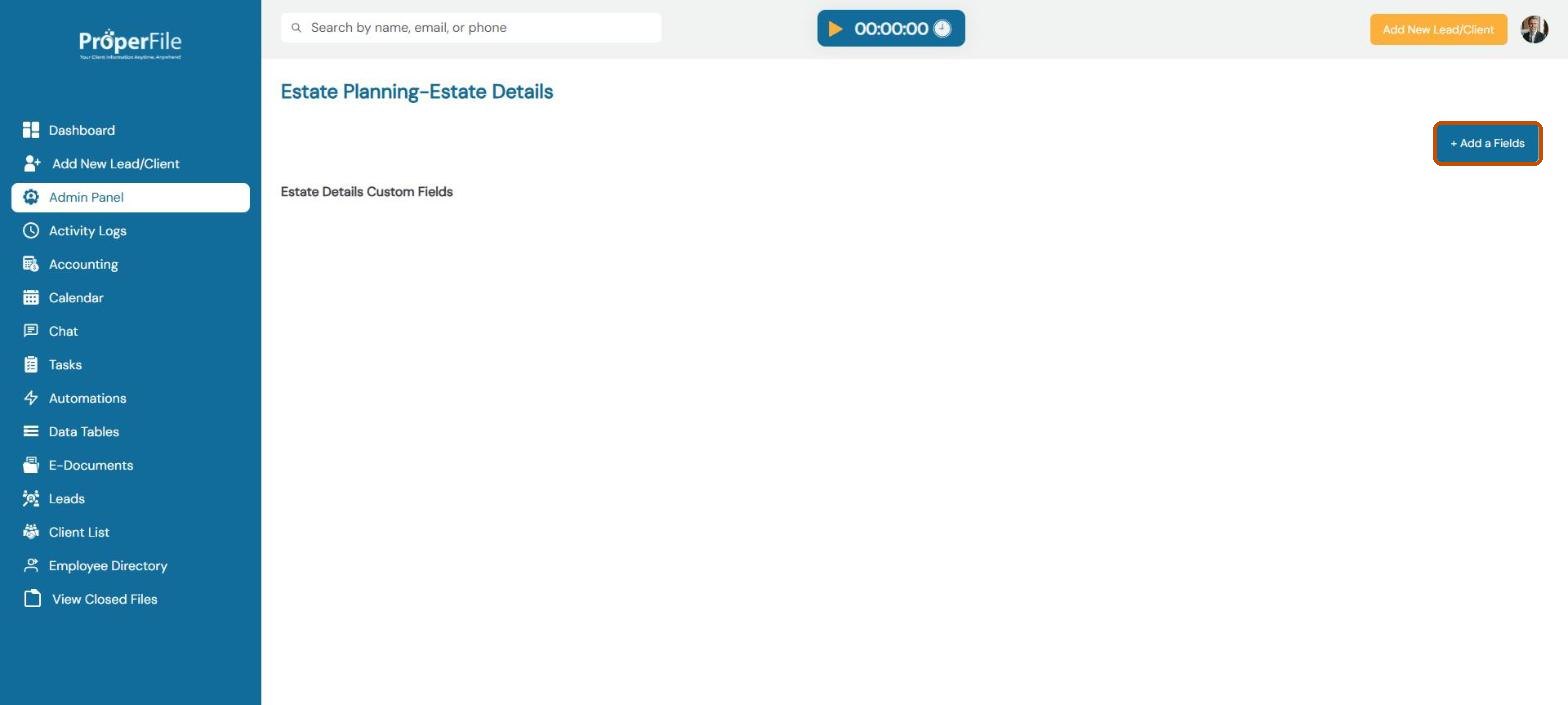
Add a field
Click + Add a Fields.
Step 7
Set up the field and submit
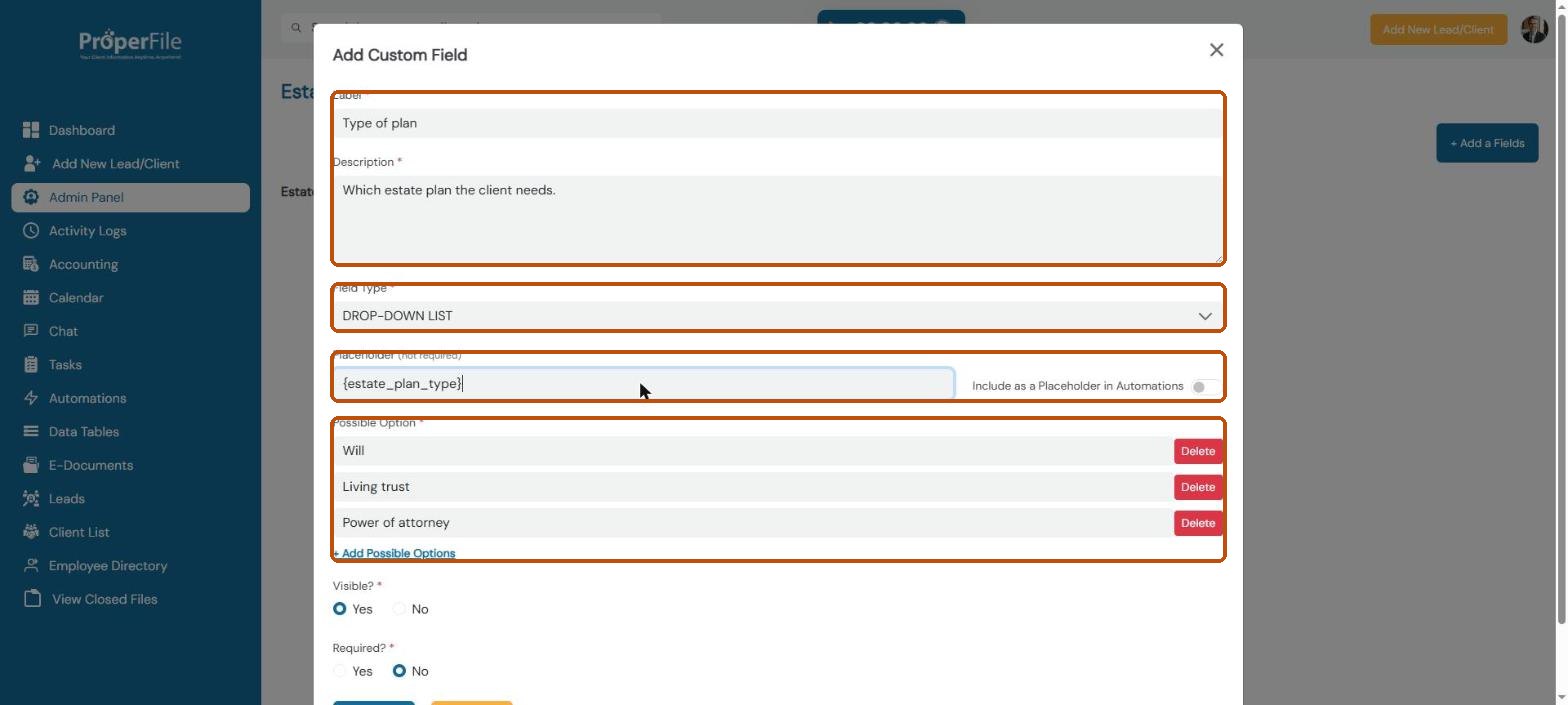
Fill in the field:
Label: the question or name staff will see, such as Type of plan
Description: a short explanation
Field Type: text, date, number, money, phone, email, yes/no, drop-down list, radio buttons, checkboxes and more
Placeholder (optional): a code such as {estate_plan_type} that puts the client’s answer into your email templates. Turn on Include as a Placeholder in Automations to use it in automations too
Possible Option: for drop-down lists, radio buttons and checkboxes, click + Add Possible Options once for each choice
Visible? and Required?: whether the field shows, and whether it must be filled in
Click Submit.
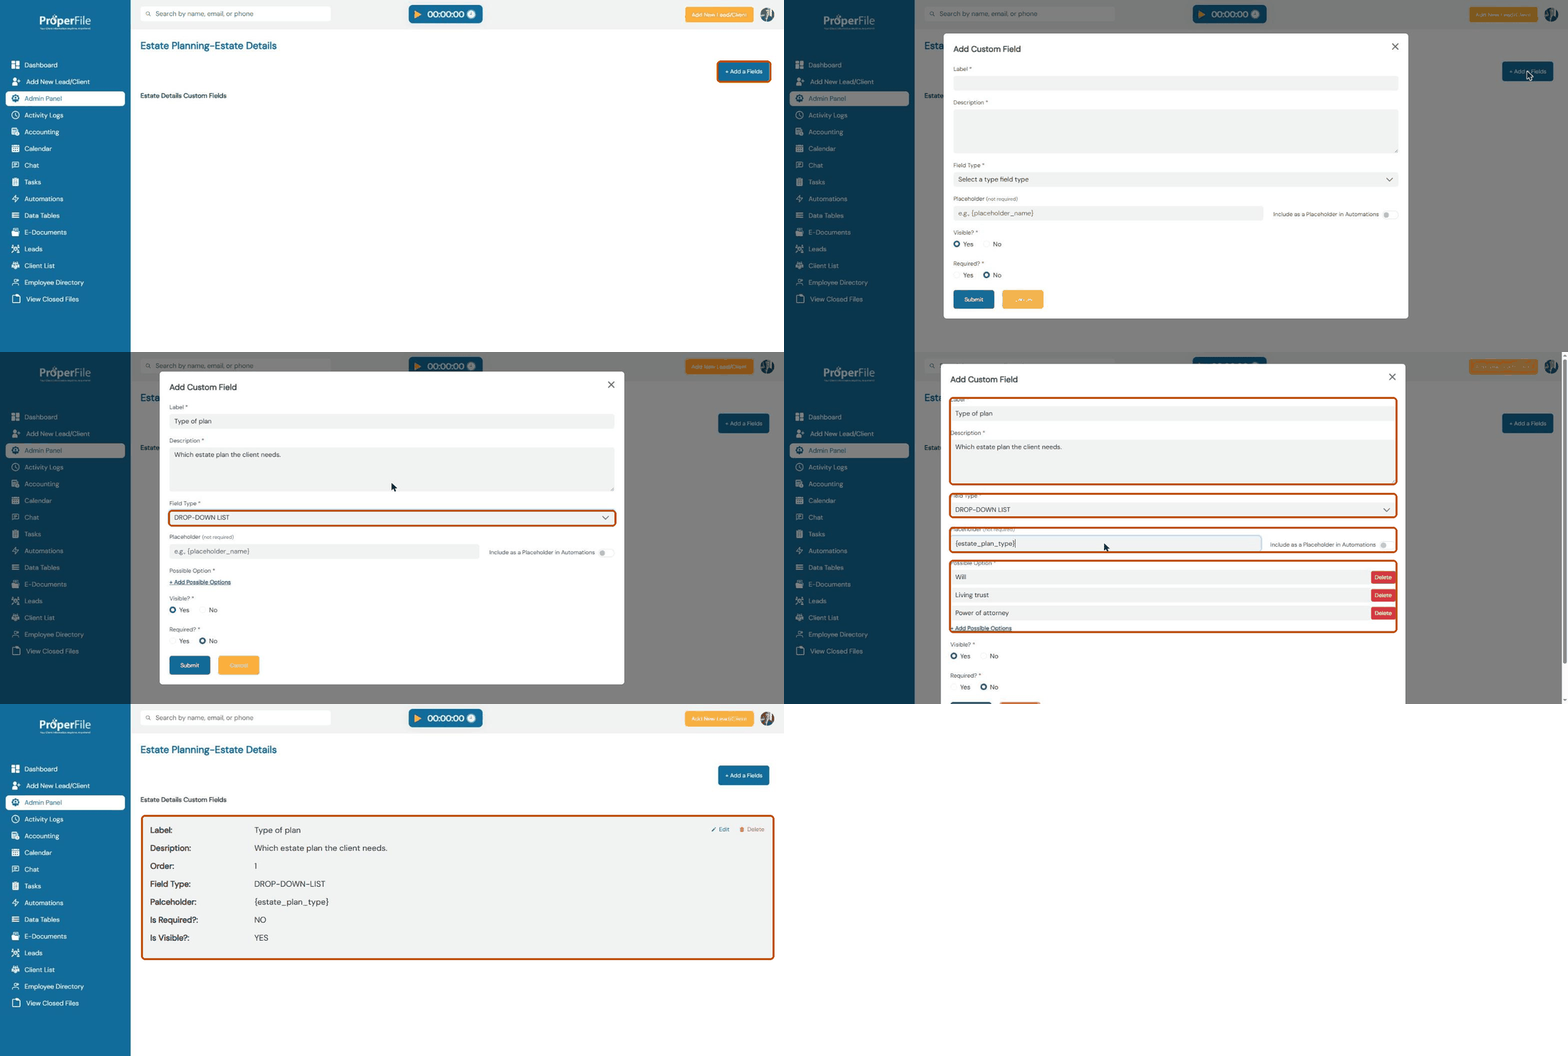
Watch it: adding a drop-down field
Step 8
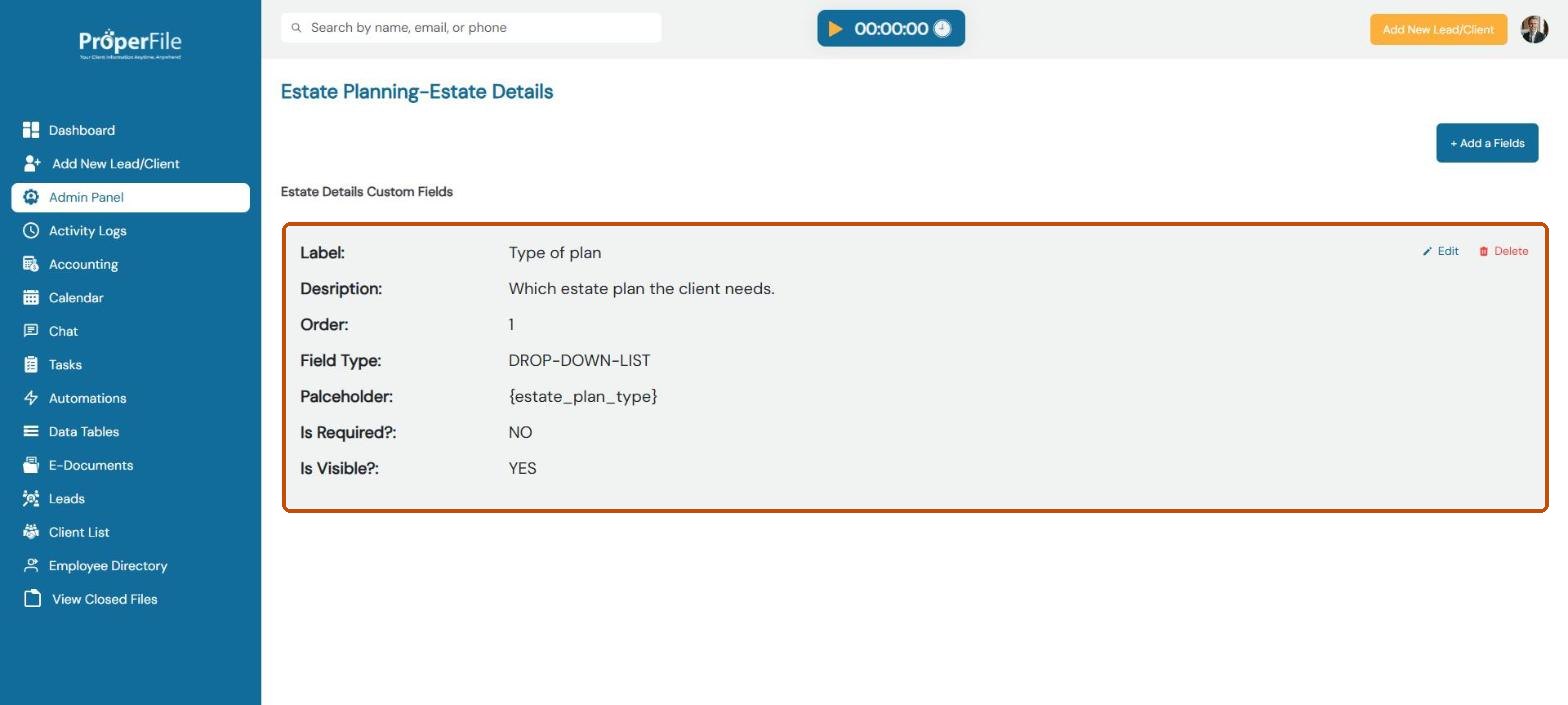
Check your field
The field now appears in the group with its settings. Use Edit to change it or Delete to remove it. Add as many fields as you need.
Tip: your custom fields appear on the client’s page and when you edit the client, for every client with this case type.
What’s next
Keep going
Next, choose the questions on your intake form in Client intake and lead fields. All guides are in the Help Center.